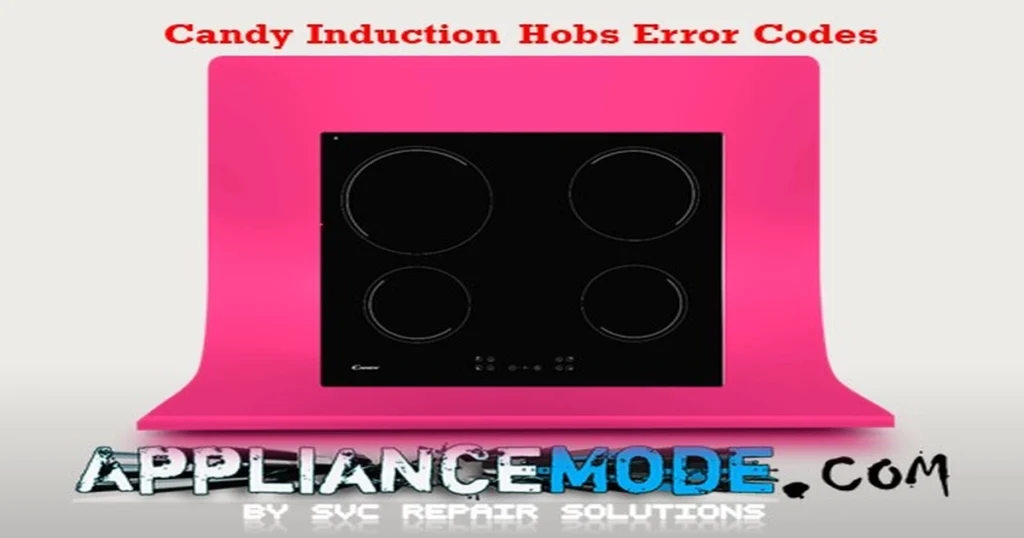
Encountering an error code on your Candy induction hob can be frustrating, but understanding what the code means is the first step to resolving the issue. This guide explains common Candy induction hobs error codes and provides troubleshooting steps to help you get your hob back in working order.

Important Safety Warning: Always ensure the appliance is unplugged from the mains power supply before attempting any inspection or repair.
Candy induction hobs error codes
Here is a list of common error codes you might see on your Candy induction hob display, along with their potential causes and suggested solutions:
ER03 and buzzer:
- Meaning: Two or more touch keys have been activated simultaneously or continuously for more than 10 seconds.
- Causes:
- Water, spills, or cleaning products on the touch control area.
- Objects (like cooking utensils or cloths) placed on the control panel.
- Something (like an arm or hand) resting on the controls.
- A fault with the touch control surface or sensor.
- Solutions:
- Turn off the hob at the mains.
- Clean and dry the hob surface thoroughly, especially the control area.
- Remove any objects from the control panel.
- Turn the hob back on at the mains and try again.
- If the error persists after ensuring the surface is clean and clear, there might be an issue with the touch control panel or main PCB, which may require professional attention.
ER21: Overheated Control Unit
- Meaning: Overheating of the electronic control unit.
- Causes:
- Insufficient ventilation around or beneath the hob.
- Prolonged cooking at high power levels.
- Faulty cooling fan motor.
- High ambient kitchen temperature.
- Solutions:
- Turn off the hob and allow it to cool down completely.
- Check that the ventilation openings around and beneath the hob are not blocked. Ensure proper airflow as per the installation instructions.
- Verify the cooling fan is working correctly (you may hear it running during and after cooking). If it’s not running or making unusual noises, it may be faulty.
- If the problem continues, there could be an issue with the internal temperature sensor or the electronic board, requiring professional diagnosis.
ER22: Abnormal signal from one key; control unit will shut off after 8 sec
- Meaning: Abnormal signal from a touch key, leading to the control unit shutting off after approximately 8 seconds.
- Causes:
- Faulty connection in the wiring harness to the control panel.
- A touch key sensor is open-circuited or short-circuited.
- Moisture or debris affecting a specific touch key.
- Solutions:
- Turn off the hob at the mains.
- Clean and dry the control panel carefully.
- Check the wiring harness connections to the touch control board (this requires accessing the internal components and should ideally be done by a technician).
- If the issue persists, the electronic control board may need to be replaced by a qualified professional.
Er47: Communication error between keyboard and power module
- Meaning: Communication error between the keyboard (touch control panel) and the power module.
- Causes:
- Damaged or loose wiring harness connecting the control panel to the power module.
- Faulty ribbon cable connecting the boards.
- Faulty main PCB or control board.
- Solutions:
- Turn off the hob at the mains for a significant period (e.g., 30 minutes to an hour) to allow a full system reset, then turn back on.
- Check the cable and connector integrity between the control panel and power module (requires internal access, best done by a technician).
- If the connections are secure and undamaged, the main PCB or control panel may be faulty and require replacement by a qualified professional.
Er31: Configuration data is incorrect
- Meaning: Configuration data error. The electronic boards are not correctly configured.
- Causes:
- Incorrect initial configuration during installation or after a power issue.
- Faulty electronic board(s).
- Solutions:
- Turn off the hob at the mains for a few minutes, then turn it back on. This might reset the system.
- Accessing and resetting the configuration settings typically requires specific technical knowledge and tools and is usually performed by a service technician.
- If the error persists, one or more electronic boards likely need to be replaced by a qualified professional.
U400: missing or low main PCB voltage
- Meaning: Missing or low main PCB voltage. This indicates a power supply issue to the main control board.
- Causes:
- Damaged wiring harness or loose connections to the main power supply.
- Issue with the hob’s power filter board.
- Faulty main PCB.
- Incorrect electrical installation or insufficient voltage supplied to the hob.
- Solutions:
- Turn off the hob at the mains.
- Check that the hob is correctly wired to the mains power supply according to the installation diagram and that the voltage is correct (230V in most regions). This check should ideally be done by a qualified electrician.
- Inspect the wiring harness for any visible damage or loose connections (requires internal access and expertise).
- If the power supply is correct and the wiring appears intact, the main PCB is likely faulty and requires replacement by a professional.
E2: Overheating of the Power Module
Meaning: Overheating of the power module or induction coils. On some models, this can also relate to a temperature sensor or even LED lighting error.
Causes:
- Overheating due to prolonged high power use or inadequate ventilation.
- Using incompatible cookware that doesn’t make proper contact.
- Faulty cooling fan motor.
- Faulty temperature sensor.
- Faulty electronic board (power module).
Solutions:
- Turn off the hob and allow it to cool down completely.
- Ensure ventilation openings are clear.
- Check the cooling fan operation.
- Verify you are using suitable, magnetic cookware with a flat base that covers the heating zone appropriately.
- If the issue persists, there may be a problem with a temperature sensor or the power module, requiring professional attention.
E5: EEPROM error
Solutions:
- Replace the electronic board.
E6: Error on the power unit
Solutions:
- Replace the main board power card.
ER36: NTC probe/sensor error
Causes:
- Damaged harness.
- Faulty NTC sensor
- Faulty main PCB
Solutions:
- Check the wiring and connections to the sensor.
- Replace the NTC sensor.
- If the problem still exists, replace the main PCB.
ER20: Error while reading flash memory
Solutions:
- Replace the electronic board.
ER40: Hardware error
Causes:
- Too hot an electronic board.
- Faulty cooling fan motor.
Solutions:
- Allow the hob to cool down.
- Check the fan motor
- If the problem still exists, replace the main PCB.
E9: The temperature sensor is defective
Causes:
- Damaged harness.
- Faulty temperature sensor.
- Faulty main PCB
Solutions:
- Check the wiring and connections to the sensor.
- If the problem still exists, replace the main PCB.
General Candy Induction Hob Troubleshooting
Some issues may not display a specific error code but still prevent your hob from functioning correctly.
After power is supplied, the LED display is not turned on:
- Causes:
- No power connection or power switch is off.
- Tripped circuit breaker or blown fuse.
- Defective connections of the filter power board or the display board.
- The filter power board is defective.
- The display board is damaged.
- Solutions:
- Check the power connection at the wall socket and ensure the hob’s isolator switch is on.
- Check your household’s fuse box or consumer unit for a tripped breaker or blown fuse related to the hob circuit.
- Turn off the power and check the wiring connections to both the filter power board and the display board (requires internal access and expertise).
- If connections are secure, the filter power board or display board may be faulty and require professional replacement.
After power is supplied, some of the buttons don’t work, and the LED display works abnormally:
- Causes:
- The display board (which includes the touch controls) is damaged or faulty.
- Moisture or debris on the control panel affecting specific buttons.
- Solutions:
- Clean and dry the control panel thoroughly.
- If cleaning doesn’t help, the display board is likely damaged and needs to be replaced by a qualified technician.
After power is supplied, the cooking mode symbol is turned on, but the hob doesn’t heat:
- Causes:
- Incompatible cookware is being used (induction hobs require magnetic pots and pans).
- The pot diameter is too small for the selected heating zone.
- Defective cooling fan motor or overheating causing a safety shutdown (similar to E2).
- The power board responsible for generating the induction field is damaged.
- The hob is too hot from previous use or poor ventilation.
- The pot detection circuit is faulty.
- Solutions:
- Ensure you are using suitable, magnetic cookware of an appropriate size for the heating zone. You can test if a pan is compatible by seeing if a magnet sticks to the base.
- Allow the hob to cool down if it has been in heavy use.
- Check and replace the cooling fan motor if it is not functioning.
- Verify proper ventilation around the hob.
- If incompatible cookware is ruled out and cooling/ventilation is adequate, the power board or pot detection circuit may be damaged and require professional replacement.
The cooking is abruptly halted, and one of the heating zones displays “u”:
- Meaning: The hob has detected an issue with the pan on that zone.
- Causes:
- The material of the pot is not suitable for induction (not magnetic).
- The pot diameter is too small for the heating zone.
- The pot was removed from the heating zone.
- Too high a temperature on the cooking hob (overheating).
- Faulty pot detection circuit.
- Solutions:
- Use the proper magnetic cookware of an appropriate size. Refer to your hob’s instruction manual for recommended cookware.
- Ensure the pot is correctly centered on the heating zone.
- Allow the hob to cool down if it has been in prolonged use. Check ventilation.
- If using correct cookware and the issue persists, the pot detection circuit or the power board may be damaged and require professional service.
Heating zones on the same side (such as the 1st and 2nd heating zones) display “u” simultaneously:
- Causes:
- Defective connections between the power board and the display board.
- The display board is defective.
- The power board is damaged.
- A shared component or circuit serving those zones is faulty.
- Solutions:
- Turn off the hob at the mains and check the connections between the power board and display board (requires internal access and expertise).
- If connections are secure, the display board or the power board related to that side of the hob is likely faulty and needs to be checked and possibly replaced by a qualified technician.
The cooling fan motor emits an abnormal noise:
- Causes:
- The cooling fan motor is defective or obstructed.
- Dust or debris has accumulated in the fan or its housing.
- Solutions:
- Turn off the hob at the mains.
- Inspect the fan for any visible obstructions and carefully remove them if present.
- If the noise persists or the fan is not running smoothly, the cooling fan motor is likely defective and needs to be replaced.
CANDY INDUCTION HOB DEMO MODE
Some Candy induction hobs have a “Demo Mode” which is used for display purposes in stores. In this mode, the hob appears to function normally, but the heating elements do not generate heat. If your hob seems to be on but won’t heat despite using correct cookware, check if it’s in demo mode.
How to place the Candy induction hob into DEMO mode:
- This process can vary by model, but commonly involves pressing and holding a combination of keys. A frequent method is to touch the Timer – and Timer + buttons simultaneously for several seconds while the hob is in standby mode. The display might show “dE” or similar to indicate demo mode.
How to deactivate DEMO mode:
- Again, this can vary, but often involves repeating the activation step. Touch the Timer – and Timer + buttons simultaneously for several seconds while the hob is in standby mode.
- Look for a change in the display, such as “dE” disappearing or the indicators returning to their normal standby state (e.g., showing “0”).
If these steps don’t work, consult your specific hob’s user manual for the correct procedure to enter and exit demo mode.
When to Call a Professional
While some issues can be resolved with simple checks and cleaning, many error codes and persistent problems with induction hobs indicate internal electronic or component failures.
You should contact a qualified appliance technician if:
- The error code or issue persists after trying the suggested solutions.
- The troubleshooting steps require opening the hob’s casing to access internal components.
- You suspect a problem with the electrical supply or internal wiring.
- You are uncomfortable or unsure about performing any of the troubleshooting steps.
Attempting repairs without the necessary knowledge and tools can be dangerous and may cause further damage to the appliance. Always prioritize your safety.
This guide provides general information for common Candy induction hob issues. For the most accurate information regarding your specific model, always consult the user manual that came with your appliance.

I am a master Appliance Repair technician with over 35 years of experience in the field. I am passionate about helping people troubleshoot their appliances and fix common problems. My website, appliancemode.com, provides a wealth of information on troubleshooting common appliance issues and deciphering error codes. This website aims to empower people to tackle appliance repairs themselves and save money on service calls.


