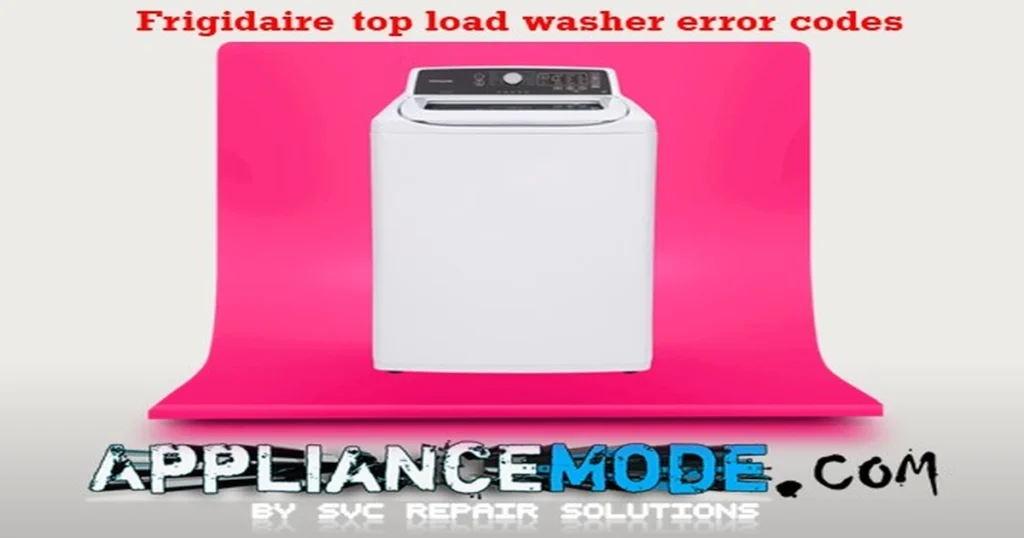
Troubleshooting Your Frigidaire Top-Load Washer: A Guide to Error Codes
When your Frigidaire top-load washer encounters an issue, it will often display an error code on the control panel. These codes serve as valuable indicators to help you identify the root of the problem and facilitate troubleshooting.

This guide explains some of the common error codes you might encounter on your Frigidaire top-load washer and provides potential causes and solutions.
Important Safety Precaution: Before attempting any inspection or repair, always unplug your washing machine from the power outlet to avoid the risk of electric shock. Exercise caution and consult your owner’s manual for model-specific information.
Here are common Frigidaire top-load washer error codes:
E1: Slow Water Fill or No Water Supply
This error code typically indicates that the washer is taking too long to fill with water or is not receiving any water at all.
Potential Causes:
- Closed or kinked water supply valves/hoses.
- Insufficient water pressure from your household supply.
- Clogged inlet hose screens.
- Problem with the water inlet valve.
- Faulty water level sensor.
- Issue with the main control board.
Troubleshooting Steps:
- Check Water Supply: Ensure both the hot and cold water supply valves behind the washer are fully open and that the hoses are not kinked or bent.
- Verify Water Pressure: Confirm that your household water pressure is adequate. You can test this by running a faucet nearby.
- Inspect Inlet Screens: Turn off the water supply, disconnect the hoses from the back of the washer, and check the small screens inside the water inlet valves for clogs. Clean them if necessary.
- Examine Water Inlet Valve: If water is reaching the washer but not entering the tub, the inlet valve may be faulty. This part may require testing with a multimeter and replacement if it’s not functioning correctly.
- Check Water Level Sensor and Wiring: A malfunctioning water level sensor or issues with its wiring can prevent the washer from detecting the water level accurately, leading to an E1 error.
- Main Control Board: In some cases, a problem with the main control board can cause this error.
E2: Drainage Problem
The E2 error code signals that the washer is having difficulty draining the water or that the draining process is taking too long.
Potential Causes:
- Clogged or kinked drain hose.
- Blocked drain pump filter.
- Obstruction in the drain pump.
- Issue with the drain pump itself.
- Problem with the water level sensor (incorrectly sensing water).
- Faulty main control board.
Troubleshooting Steps:
- Inspect Drain Hose: Ensure the drain hose is not kinked, bent, or clogged. Verify that the end of the hose is not inserted too far into the drain pipe.
- Clean Drain Pump Filter: Many top-load washers have a drain pump filter accessible from the front or back. Check your manual for its location and clean out any lint, debris, or foreign objects.
- Check Drain Pump: If the filter is clear, there might be an obstruction in the drain pump itself. This may require accessing the pump to inspect and clear any blockages.
- Test Drain Pump: If the pump appears clear, it may be faulty and need replacement. You might be able to test its resistance with a multimeter if you have the technical specifications.
- Verify Water Level Sensor: A faulty water level sensor could incorrectly indicate that there is still water in the tub, preventing the drain cycle from completing or initiating.
- Main Control Board: A malfunctioning main control board can also lead to drainage issues and an E2 error.
E3: Lid Open or Lid Lock Failure
This error occurs when the washer lid is detected as open during a cycle or if there is a problem with the lid locking mechanism. The washer will typically pause or stop operation when this error appears for safety reasons.
Potential Causes:
- Lid not fully closed.
- Faulty lid switch or sensor.
- Problem with the lid locking mechanism.
- Wiring issue to the lid switch or lock.
- Faulty main control board.
Troubleshooting Steps:
- Ensure Lid is Closed: Make sure the washer lid is completely closed and latched before starting or resuming a cycle.
- Inspect Lid Switch/Sensor: The lid switch or sensor detects whether the lid is open or closed. Check for any visible damage or misalignment.
- Examine Lid Lock Assembly: The lid lock mechanism physically locks the lid during operation. Inspect it for any obstructions or signs of damage.
- Check Wiring: Inspect the wire harness connections to the lid switch and lid lock for any loose or damaged wires.
- Test Components: If you are comfortable and have the necessary tools, you can test the continuity of the lid switch and potentially the resistance of the lid lock assembly using a multimeter, comparing the readings to the manufacturer’s specifications (found in a service manual).
- Main Control Board: If the lid switch and lock appear functional, the issue could be with the main control board.
E4: Unbalanced Load
The E4 error code indicates that the washer has detected an unbalanced load during the spin cycle, which can cause excessive vibration and movement.
Potential Causes:
- Uneven distribution of laundry in the drum.
- Washing a single, bulky item that is not balanced.
- Washer not level.
- Problem with the suspension system.
- Issue with the balance ring (in some models).
- Faulty impact switch.
Troubleshooting Steps:
- Redistribute Laundry: Open the lid and manually redistribute the clothes in the drum to create a balanced load. Close the lid and resume the cycle.
- Wash Similar Items Together: Try to wash items of similar size and weight together to help maintain balance. Avoid washing a single heavy item by itself.
- Level the Washer: Ensure the washing machine is installed on a level surface. Adjust the leveling legs at the bottom of the washer as needed.
- Check Suspension System: The suspension system helps to absorb movement during the spin cycle. If the washer is shaking excessively even with a balanced load, there might be an issue with the suspension rods or springs.
- Inspect Balance Ring: Some washer drums have a balance ring filled with a liquid that helps to stabilize the drum during spinning. If this ring is damaged or leaking, it can cause imbalance.
- Test Impact Switch: The impact switch detects excessive vibration. If this switch is faulty, it might trigger an E4 error even with a balanced load. Testing its continuity with a multimeter may be necessary.
E5: Washer Not Level
This error code specifically indicates that the washing machine is not level. This can affect the washer’s performance, particularly during the spin cycle.
Potential Causes:
- Washer not installed on a level floor.
- Leveling legs are not properly adjusted.
Troubleshooting Steps:
- Check Levelness: Use a level tool to check if the top of the washing machine is level from front to back and side to side.
- Adjust Leveling Legs: Carefully tilt the washer and adjust the leveling legs at the bottom to ensure the machine is stable and level on all sides.
F2: Too Many Suds or Drainage Issue
While sometimes related to drainage, the F2 code can also indicate the presence of excessive suds in the washer, which can impede draining and rinsing.
Potential Causes:
- Using too much detergent.
- Using the wrong type of detergent (e.g., not high-efficiency detergent in an HE washer).
- Clogged drain system due to detergent buildup.
Troubleshooting Steps:
- Reduce Detergent: Use the recommended amount of detergent for your load size and water hardness.
- Use HE Detergent: If you have a high-efficiency washer, ensure you are using HE detergent, which is formulated to produce fewer suds.
- Run a Cleaning Cycle: Run a cycle with hot water and no detergent (or with a washing machine cleaner) to help remove detergent buildup.
- Check for Drain Issues: If reducing suds doesn’t resolve the issue, troubleshoot for E2 errors related to drainage obstructions.
F3: Water Level Sensor Error
This error code points to a problem with the water level sensor or its related components, preventing the washer from accurately determining the amount of water in the drum.
Potential Causes:
- Faulty water level sensor.
- Kinked or blocked air pressure hose connecting the sensor to the tub.
- Clogged air chamber (pressure dome) in the tub.
- Wiring issue to the water level sensor.
- Faulty main control board.
Troubleshooting Steps:
- Inspect Air Pressure Hose: Locate the air pressure hose connecting the water level sensor (usually near the top of the washer) to the side of the wash tub. Ensure it is not kinked, blocked, or disconnected.
- Check Air Chamber: The air chamber on the side of the tub where the hose connects can become clogged with soap residue. Disconnect the hose and clean out the port if necessary.
- Examine Wiring: Check the wire harness connection to the water level sensor for any loose or damaged wires.
- Test Water Level Sensor: A multimeter can be used to test the water level sensor, potentially checking for changes in resistance or capacitance as air pressure changes (refer to a service manual for specific values and procedures). If it fails testing, replace the sensor.
- Main Control Board: If the sensor and hose are in good condition, the issue might lie with the main control board.
F2/C9: Motor or Communication Error (Possible Imbalance Related)
These codes, sometimes appearing interchangeably depending on the model, can indicate a motor fault or a communication problem, potentially triggered by an imbalance issue during the spin cycle.
Potential Causes:
- Motor control issue.
- Communication problem between the main control board and the motor control board.
- Imbalance during spin (leading to motor stress).
- Faulty motor.
- Problem with the main control board.
Troubleshooting Steps:
- Check for Imbalance: As with E4, an unbalanced load can sometimes trigger motor-related errors. Ensure the laundry is evenly distributed.
- Inspect Wiring: Check the wiring connections between the main control board and the motor control board for any looseness or damage.
- Reset the Washer: Unplug the washer for a few minutes and then plug it back in to see if the error clears.
- Motor and Control Boards: If the error persists, there might be an issue with the motor, the motor control board, or the main control board. These components may require testing or replacement by a qualified technician.
CL: Control Lock Activated
The CL notification is not an error code indicating a malfunction but rather a notification that the control lock feature is activated. This feature prevents accidental button presses.
Potential Causes:
- Control lock feature has been intentionally or accidentally engaged.
- Lid opened for an extended period (e.g., 20 seconds) while control lock is active.
Troubleshooting Steps:
- Deactivate Control Lock: To deactivate the child/control lock, press and hold the designated button(s) on your control panel for a few seconds until the CL indicator disappears. The specific buttons vary by model, so consult your owner’s manual. Common combinations include holding down “Soil Level” and “Temp” simultaneously or a dedicated “Control Lock” button.
FD: Lid Lock Error
While sometimes associated with E3, an FD code can specifically indicate a failure of the lid locking mechanism itself.
Potential Causes:
- Faulty lid lock assembly.
- Wiring issue to the lid lock.
- Obstruction preventing the lid lock from engaging.
Troubleshooting Steps:
- Check for Obstructions: Ensure there are no objects preventing the lid lock from engaging properly.
- Inspect Lid Lock Assembly: Examine the lid lock mechanism for any visible damage or signs of failure.
- Check Wiring: Verify the wire connections to the lid lock assembly are secure and not damaged.
- Test Lid Lock: If you have the technical expertise, you might be able to test the lid lock assembly with a multimeter.
- Replace Lid Lock: If the lid lock is determined to be faulty, it will need to be replaced.
Conclusion
Frigidaire top-load washer error codes provide valuable clues when your appliance isn’t functioning correctly. By understanding the meaning of these codes and following the suggested troubleshooting steps, you can often resolve common issues yourself.

I am a master Appliance Repair technician with over 35 years of experience in the field. I am passionate about helping people troubleshoot their appliances and fix common problems. My website, appliancemode.com, provides a wealth of information on troubleshooting common appliance issues and deciphering error codes. This website aims to empower people to tackle appliance repairs themselves and save money on service calls.


