Taming Your Haier Built-In Oven: A Guide to Understanding and Fixing Error Codes
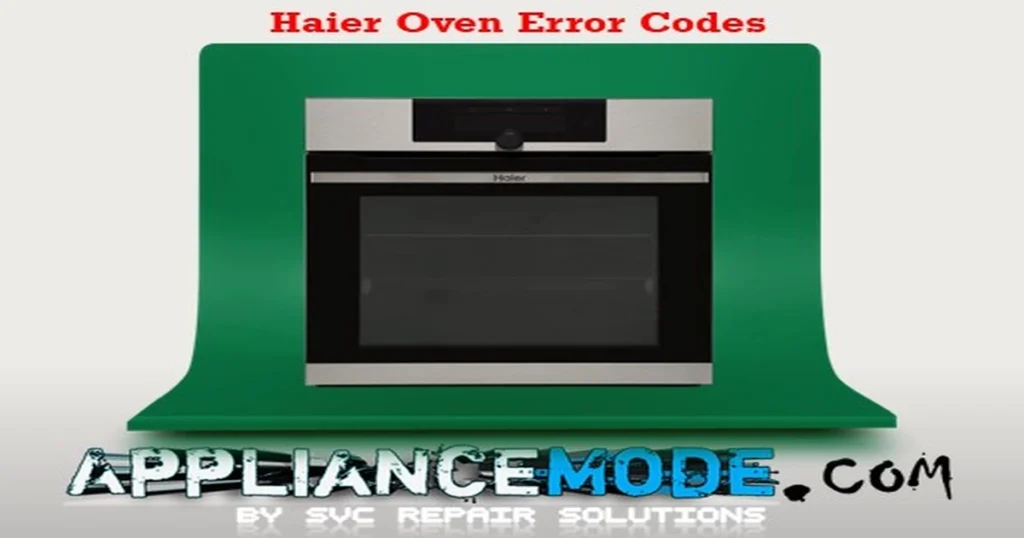
This comprehensive guide will help you decode the haier built-in oven fault messages, understand the potential causes, and empower you with actionable solutions to get your oven back in top working order.

We’ll break down the common Haier oven error codes, explaining in simple terms what they mean and what might be causing them. More importantly, we’ll provide step-by-step troubleshooting tips to help you address the issue yourself, potentially saving you time and the expense of a service call.
Haier Oven Error Codes Explained
Important Safety Note: Before attempting any troubleshooting or repair, ALWAYS unplug your oven from the power supply. Electricity can be dangerous, and taking this precaution is crucial for your safety. If you are uncomfortable with any of the steps outlined, or if the issue persists, it is always best to consult a qualified appliance technician.
Here’s a breakdown of common Haier oven error codes you might encounter:
| Error Code | Meaning | Potential Causes | Troubleshooting Steps |
|---|---|---|---|
| E1 | Cooking selector not connected | Faulty wire harness connector, Faulty selector, Faulty main PCB | 1. Check the wiring harness connection to the cooking selector. Ensure it is secure and undamaged. 2. Inspect the cooking selector for visible damage. 3. If the issue persists after checking connections and the selector, the main PCB may need to be replaced (professional assistance recommended). |
| E2 | Cooking program selector not connected on display board (not currently used) | Faulty wire harness connector | 1. Check the wiring harness connection between the cooking program selector and the display board. |
| E3 | Function selector not connected on display board (not currently used) | Faulty wire harness connector | 1. Check the wiring harness connection between the function selector and the display board. |
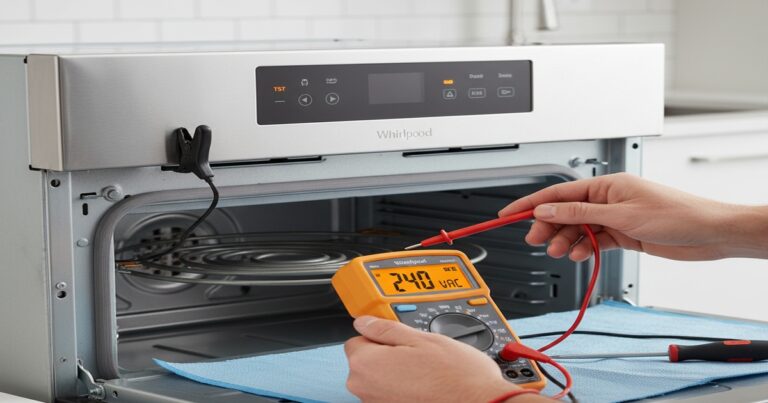
| E4 | Main board NTC open circuit | Damaged harness, Faulty main board NTC, Faulty main PCB | 1. Inspect the wiring and connections to the NTC sensor on the main board for damage or looseness. 2. Test the resistance of the main board NTC sensor using a multimeter. Compare the reading to the expected values (e.g., 1077 Ω at 20°C/68°F, 1150 Ω at 40°C/104°F). Replace the sensor if the resistance is outside the expected range. 3. If the wiring and sensor are functional, the main PCB may require replacement (professional assistance recommended). |
| E5 | Main board NTC short circuit | Damaged harness, Faulty main board NTC, Faulty main PCB | 1. Inspect the wiring and connections to the NTC sensor on the main board for damage that could cause a short circuit. 2. Test the resistance of the main board NTC sensor. A short circuit will typically show a very low resistance. Replace the sensor if a short is detected. 3. If the wiring and sensor are functional, the main PCB may require replacement (professional assistance recommended). |
| E6 | Main board too hot | Oven in unventilated area, Faulty cooling fan | 1. Ensure the oven is installed in a location with adequate ventilation, allowing for proper airflow around the unit. 2. Check that the cooling fan is operating correctly and is not obstructed. Ensure it is properly installed. |
| E7 | Secondary oven temperature sensor open circuit | Damaged harness, Faulty second sensor, Faulty main PCB | 1. Inspect the wiring and connections to the secondary oven temperature sensor for damage or looseness. 2. Test the resistance of the secondary oven sensor. Compare the reading to the expected values (e.g., 1077 Ω at 20°C/68°F, 1150 Ω at 40°C/104°F). Replace the sensor if necessary. 3. If the wiring and sensor are functional, the main PCB may require replacement (professional assistance recommended). |
| E8 | Secondary oven temperature probe short circuit | Damaged harness, Faulty second sensor, Faulty main PCB | 1. Inspect the wiring and connections to the secondary oven temperature sensor for damage that could cause a short circuit. 2. Test the resistance of the secondary oven sensor. A short circuit will typically show a very low resistance. Replace the sensor if a short is detected. 3. If the wiring and sensor are functional, the main PCB may require replacement (professional assistance recommended). |
| E9 | Communication problem with WIFI module (Only with WiFi on) | Damaged harness, Faulty WiFi module, Faulty main PCB | 1. Check the wire harness and connector for the WiFi module. Ensure they are secure and undamaged. 2. If the connection is good, the WiFi module may be faulty and require replacement. 3. If the problem persists, the main PCB may need to be replaced (professional assistance recommended). |
| E10 | Main oven temperature probe/sensor open circuit | Damaged harness, Faulty main sensor, Faulty main PCB | 1. Inspect the wiring and connections to the main oven temperature sensor for damage or looseness. 2. Replace the oven’s main sensor. 3. If the issue persists, the main PCB may require replacement (professional assistance recommended). |
| E11 | Main oven temperature probe/sensor short circuit | Damaged harness, Faulty main sensor, Faulty main PCB | 1. Inspect the wiring and connections to the main oven temperature sensor for damage that could cause a short circuit. 2. Replace the oven’s main sensor. 3. If the issue persists, the main PCB may require replacement (professional assistance recommended). |
| E12 | Communication error between main PCB and display PCB | Damaged harness, Faulty display board, Faulty main PCB | 1. Check the flat cable connection between the main PCB and the display PCB. Ensure it is securely seated and not damaged. 2. If the cable is fine, the display board may be faulty and require replacement. 3. If the problem persists, the main PCB may need to be replaced (professional assistance recommended). |
| E13 | Heating element broken | Damaged harness, Damaged Safety Thermostat (TCO), Faulty heating element, Faulty heater relay, Faulty main PCB | This error typically appears during a pyrolysis program if the oven doesn’t reach 100°C within 10 minutes. The timer resets if the door is opened. 1. Check the safety thermostat (TCO) for continuity. 2. Inspect the heating element for visible signs of damage. Test its resistance with a multimeter. 3. If the heating element is faulty, it will need to be replaced. 4. Check the heater relay on the main PCB. 5. If the issue persists after checking these components, the main PCB may require replacement (professional assistance recommended). |
| E14 | Separator signal present | Damaged harness, Faulty separator switch | This error occurs during the line test procedure. 1. Check the wire harness for the separator switch. 2. Inspect the separator switch for proper operation. 3. If the problem persists, the main PCB may require replacement (professional assistance recommended). |
| E15 | Door signal is incorrect | Damaged harness, Faulty door lock | This error can appear during testing or on pyrolytic ovens if the door signal is open when it should be locked or unlocking. 1. Check the wire harness for the door lock. 2. Inspect the door lock mechanism for proper operation and alignment. 3. If the issue persists, the main PCB may require replacement (professional assistance recommended). |
| E16 | External display board NTC open circuit | Faulty NTC probe, Faulty display board | 1. Check the NTC probe connected to the external display board. 2. If the probe is functional, the display board may be faulty and require replacement. |
| E17 | External display board NTC open circuit | Faulty NTC probe, Faulty display board | 1. Check the NTC probe connected to the external display board. 2. If the probe is functional, the display board may be faulty and require replacement. |
| E18 | External display board too hot | Oven in unventilated area, Faulty display board | 1. Ensure the oven is in a well-ventilated area. 2. Try unplugging the oven for at least 45 minutes to allow the display board to cool down. 3. If the error persists, the display board may be faulty and require replacement. |
| E19 | Main board EEPROM not loaded or working (not recoverable) | Faulty main PCB | This error typically occurs on the first power-on. 1. Unplug the oven and plug it back in after a few minutes. 2. If the error persists, the main PCB is likely faulty and will require replacement (professional assistance recommended). |
| E21 | Meat probe open circuit | Damaged harness, Faulty meat probe | This error can occur during the line test procedure. 1. Check the meat probe connector for a secure connection. 2. If the connection is good, the meat probe may be faulty and require replacement. |
| E22 | Meat probe short circuit | Damaged harness, Faulty meat probe | This error is not active in off or light functions, or at the end of cooking with a meat probe. 1. Check the meat probe connector for any signs of damage that could cause a short circuit. 2. If the connection is good, the meat probe may be faulty and require replacement. |
| E24 | Door is not locked | Damaged harness, Faulty door lock | This error is suppressed if a non-pyrolysis program is running. 1. Check the door lock connector for a secure connection. 2. Inspect the door lock mechanism for proper operation. 3. If the issue persists, the door lock may be faulty and require replacement. |
| E25 | Door won’t unlock | Damaged harness, Faulty door lock | The oven attempts to unlock the door when a new program is set, respecting the lock system’s timing. 1. Check the door lock connector for a secure connection. 2. Inspect the door lock mechanism for proper operation. 3. If the issue persists, the door lock may be faulty and require replacement. |
| E26 | Slide grid signal not present | Damaged harness, Faulty slide grids, Faulty door lock | This error can occur during the line test procedure. 1. Check the slide grid connector. 2. Inspect the slide grids for proper installation and function. 3. The door lock can also be a factor, so check its operation. |
| E27 | Slide grid signals present during door locking | Damaged harness, Faulty slide grids, Faulty door lock | This error can occur during the line test procedure. 1. Check the slide grid connector. 2. Inspect the slide grids. 3. The door lock can also be a factor, so check its operation. |
| E28 | Display board EEPROM not working | Faulty display board | The display board’s memory is not functioning correctly. 1. The display board will likely need to be replaced. |
| E29 | Wrong configuration file for external display | Faulty main PCB | The main control board has an incorrect configuration for the external display. 1. The main PCB may need to be replaced (professional assistance recommended). |
| E30 | Separator signal not present | Damaged harness, Faulty separator switch | This error can occur during the line test. 1. Check the separator switch connector. 2. Inspect the separator switch for proper function. |
| E31 | Bad touch key sensitivity | Damaged springs, Faulty front panel, Faulty TAD USER INTERFACE (display board) | This error can occur during the line test procedure. 1. Check the correct positioning and condition of the springs on the display board that interact with the touch keys. 2. Inspect the front panel for any issues affecting touch sensitivity. 3. If the problem persists, the TAD UI (display board) may be faulty and require replacement. |
| E41 | EEPROM memory is empty | Faulty main PCB | The main control board’s memory is empty. 1. The main PCB will likely need to be replaced (professional assistance recommended). |
Haier Oven Demo Mode
The demo mode is designed for retail display purposes and disables the oven’s heating functions.
How to Activate Demo Mode:
- Ensure the oven display shows 00:11. Set the time to 00:11 if necessary.
- With the oven off, press and hold the “MyChef” button for at least 5 seconds.
- You will hear a sound confirming the activation, and the display will show “demo mode”.
How to Exit Demo Mode:
- Ensure the oven display shows 00:11.
- With the oven off, press and hold the “MyChef” button for at least 5 seconds.
- You will hear a sound confirming the deactivation, and the “demo mode” message will disappear.
Understanding the Haier oven error codes and following the troubleshooting steps, you can often resolve issues with your Haier built-in oven and get back to enjoying your passion for cooking. Remember to prioritize safety by always unplugging the oven before working on it.

I am a master Appliance Repair technician with over 35 years of experience in the field. I am passionate about helping people troubleshoot their appliances and fix common problems. My website, appliancemode.com, provides a wealth of information on troubleshooting common appliance issues and deciphering error codes. This website aims to empower people to tackle appliance repairs themselves and save money on service calls.


