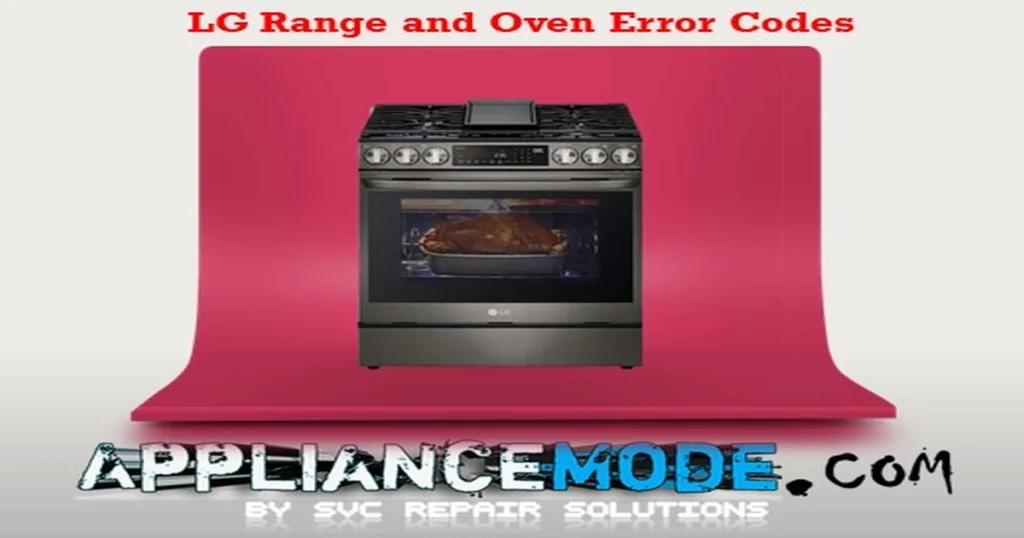
LG Range Oven Error Codes: Your Guide to Troubleshooting
Encountering an error code on your LG range oven can be frustrating, halting your cooking plans and leaving you wondering what went wrong. These cryptic combinations of letters and numbers are your oven’s way of communicating a problem, ranging from simple glitches to issues requiring professional attention.

This guide aims to demystify common LG range oven error codes, providing clear explanations and actionable troubleshooting tips to help you identify and potentially resolve the issue yourself.
Important Safety Note: Before attempting any troubleshooting or repairs, ALWAYS unplug your LG range oven and exercise extreme caution. If you are uncomfortable working with electrical components or suspect a serious issue, it is best to consult your owner’s manual or contact a qualified appliance technician.
Understanding LG Range Oven Error Codes
LG error codes often begin with ‘F’ (indicating a function error) followed by a number or series of numbers. While the exact codes and their meanings can sometimes vary slightly depending on your specific model, the codes listed below are commonly encountered.
Here’s a breakdown of frequent LG range oven error codes and potential steps to take:
Sensor Errors (Temperature Monitoring Issues)
- F1 (Upper Sensor Open Error): This indicates an open circuit in the upper oven temperature sensor (thermistor). The oven’s control can’t read the upper oven temperature accurately.
- Possible Causes: Faulty wire harness, defective upper thermistor, issue with the main control board.
- Troubleshooting:
- Check the wire harness connection between the upper sensor and the main control board for looseness or damage.
- If you have a multimeter and are comfortable using it, you can test the resistance of the upper thermistor. A typical reading at room temperature (around 25°C/77°F) is approximately 1.09 kΩ. Significant deviations could indicate a faulty sensor.
- If the wiring and thermistor appear fine, the main control board might be the culprit.
- F2 (Upper Sensor Short Error): This code signals a short circuit in the upper thermistor, meaning the control board is receiving a constant, incorrect temperature reading.
- Possible Causes: Damaged wire harness causing a short, faulty upper thermistor.
- Troubleshooting:
- Inspect the upper sensor wire harness for any pinched or damaged wires that could be causing a short.
- Test the resistance of the upper thermistor with a multimeter. A reading significantly lower than the expected 1.09 kΩ at room temperature could indicate a short.
- F4 (Lower Sensor Open Error): Similar to F1, but for the lower oven temperature sensor. It indicates an open circuit preventing the control from reading the lower oven temperature.
- Possible Causes: Faulty wire harness, defective lower thermistor, issue with the main control board.
- Troubleshooting:
- Check the wire harness connection for the lower sensor at the main control board.
- Test the resistance of the lower thermistor with a multimeter. The expected resistance at room temperature is also around 1.09 kΩ.
- F5 (Lower Sensor Short Error): Indicates a short circuit in the lower oven thermistor.
- Possible Causes: Damaged wire harness, faulty lower thermistor.
- Troubleshooting:
- Examine the lower sensor wire harness for signs of damage or pinching.
- Test the resistance of the lower thermistor with a multimeter. A reading much lower than expected suggests a short.
- F8 (Meat Probe Short Error): This occurs when a short circuit is detected in the meat probe.
- Possible Causes: Damaged meat probe wire harness, faulty meat probe sensor.
- Troubleshooting:
- Check the meat probe wire harness for any visible damage.
- If you have a multimeter, you can test the resistance of the meat probe sensor. At room temperature (around 25°C/77°F), the resistance should be approximately 1.09 kΩ.
Heating and Overheating Errors
- F6 (Hot Oven Error): This indicates the upper oven temperature has exceeded a safe limit (often over 343°C or 650°F) for a sustained period during cooking (excluding self-clean).
- Possible Causes: Faulty oven thermistor providing an incorrect high reading, a stuck heating element relay (causing continuous heating), a problem with the main control board.
- Troubleshooting:
- Allow the oven to cool completely.
- Check the oven thermistor’s resistance if you can safely access it.
- Inspect the heating element relays on the control board to see if any appear physically stuck closed (this requires technical knowledge).
- F16 (Lower Oven Too Hot Error): Similar to F6, but indicates the lower oven temperature has exceeded the safe limit.
- Possible Causes: Faulty lower oven thermistor, stuck heating element relay for the lower oven, main control board issue.
- Troubleshooting:
- Let the oven cool down entirely.
- If accessible and you have a multimeter, test the resistance of the lower oven thermistor.
- Examine the heating element relays for the lower oven on the control board.
- F9 (Oven Not Heating Error – Upper): This error appears if the upper oven temperature does not increase by a small amount (e.g., 5°C or 10°F) from its starting temperature within a few minutes of a cooking cycle beginning.
- Possible Causes: Faulty wire harness connection, defective thermistor (providing an incorrect low reading), an open heating element relay (preventing power to the element), a problem with the main control board.
- Troubleshooting:
- Verify the wire harness connections, especially those related to the heating elements and thermistor.
- Test the resistance of the upper oven thermistor.
- If you can safely access and test heating elements with a multimeter, check their resistance (refer to your manual for specific values, but common ranges are listed in the original post). An open circuit means the element is not receiving power or is faulty.
- Inspect the heating element relays on the control board.
- F19 (Lower Oven, No Heating Error): Similar to F9, but for the lower oven. Indicates the lower oven is not heating up adequately within the expected time.
- Possible Causes: Faulty wire harness connection, defective lower oven thermistor, an open heating element relay for the lower oven, main control board issue.
- Troubleshooting:
- Check wire harness connections for the lower oven heating elements and thermistor.
- Test the resistance of the lower oven thermistor.
- If possible and safe, test the resistance of the lower oven heating elements.
- Examine the heating element relays for the lower oven.
Door Lock Errors
- F10 (Upper Door Lock Error): Indicates a failure in the upper oven’s door locking mechanism, often occurring during cycles like self-cleaning that require the door to be locked.
- Possible Causes: Faulty harness connection to the door lock assembly, malfunctioning microswitches in the lock mechanism, a problem with the door lock motor or its relay, main control board issue.
- Troubleshooting:
- Ensure the oven door is completely closed and not obstructed.
- Check the wire harness connection to the door lock assembly.
- Inspect the door lock assembly for any visible damage or obstructions. The microswitches are part of this assembly and typically require a technician to test or replace.
- Testing the door lock motor requires a multimeter and technical knowledge (the original post suggests an ohmic value around 2600 Ω).
- F20 (Lower Oven Door Lock Error): Similar to F10, but for the lower oven’s door locking mechanism.
- Possible Causes: Faulty harness, malfunctioning microswitches in the lower door lock assembly, faulty lower door lock motor or relay, main control board issue.
- Troubleshooting:
- Confirm the lower oven door is fully closed and unobstructed.
- Check the wire harness connection to the lower door lock assembly.
- Inspect the lower door lock assembly for damage or obstructions.
- Testing the lower door lock motor requires a multimeter.
Communication Errors
- F11 (Communication Error): This error suggests a problem with the communication between the oven’s main control board and other components like the display (LCD) board or cooktop control board.
- Possible Causes: Faulty wire harness connecting the boards, defective LCD or cooktop board, issue with the main control board.
- Troubleshooting:
- Check the wire harnesses that connect the main control board to the display and cooktop boards for secure connections and no visible damage.
- If connections are secure, one of the boards might be faulty.
Fan Errors
- F7 (Convection Fan Error – Upper): Indicates a problem with the upper oven’s convection fan operation.
- Possible Causes: Faulty wire harness connector to the fan, defective fan motor, issue with the fan relay, main control board problem.
- Troubleshooting:
- Inspect the wire harness connection to the convection fan motor.
- If you can safely access the convection fan motor, you can test its resistance with a multimeter (refer to your manual for specific values; the original post suggests around 29 Ω for low speed and 24 Ω for high speed).
- Examine the convection fan relay on the control board.
- F17 (Lower Oven Convection Fan Error): Similar to F7, but for the lower oven’s convection fan.
- Possible Causes: Faulty wire harness, defective lower oven fan motor, issue with the lower oven fan relay, main control board problem.
- Troubleshooting:
- Check the wire harness connection to the lower oven convection fan.
- If accessible, test the resistance of the lower oven fan motor.
- Examine the lower oven convection fan relay.
Other Potential Errors (May Vary by Model)
The other error codes (F21, F22, F24, F25, F33, F34, F36, F38, F42, F45, F51, F52, F56, F59, F62, F69) related to steam functions, induction hobs, IGBT sensors, box fans, and griddle/sous-vide features. These errors are often model-specific and troubleshooting them typically involves checking relevant sensor connections, resistances, and associated control boards (like induction inverter boards or cooktop boards). If you encounter one of these less common codes, it is highly recommended to consult your owner’s manual or seek professional assistance, as these components can be more complex.
General Troubleshooting Tips:
- Power Reset: One of the first and simplest steps is to try resetting the oven by unplugging it from the power outlet for a few minutes or by switching off the corresponding circuit breaker. This can sometimes clear temporary errors.
- Consult Your Owner’s Manual: Your LG owner’s manual is an invaluable resource. It should list the specific error codes for your model and provide detailed troubleshooting steps.
- Visual Inspection: Carefully inspect all visible wire harnesses and connections for any signs of damage, pinching, or looseness.
- Component Testing (with Caution): If you are comfortable and have the necessary tools, testing components like thermistors and heating elements with a multimeter can help pinpoint the issue. Always ensure the power is disconnected before testing electrical parts.
Conclusion
LG range oven error codes serve as vital indicators of internal issues. By understanding the meaning of these codes and following appropriate troubleshooting steps, you can often diagnose the problem.

I am a master Appliance Repair technician with over 35 years of experience in the field. I am passionate about helping people troubleshoot their appliances and fix common problems. My website, appliancemode.com, provides a wealth of information on troubleshooting common appliance issues and deciphering error codes. This website aims to empower people to tackle appliance repairs themselves and save money on service calls.


