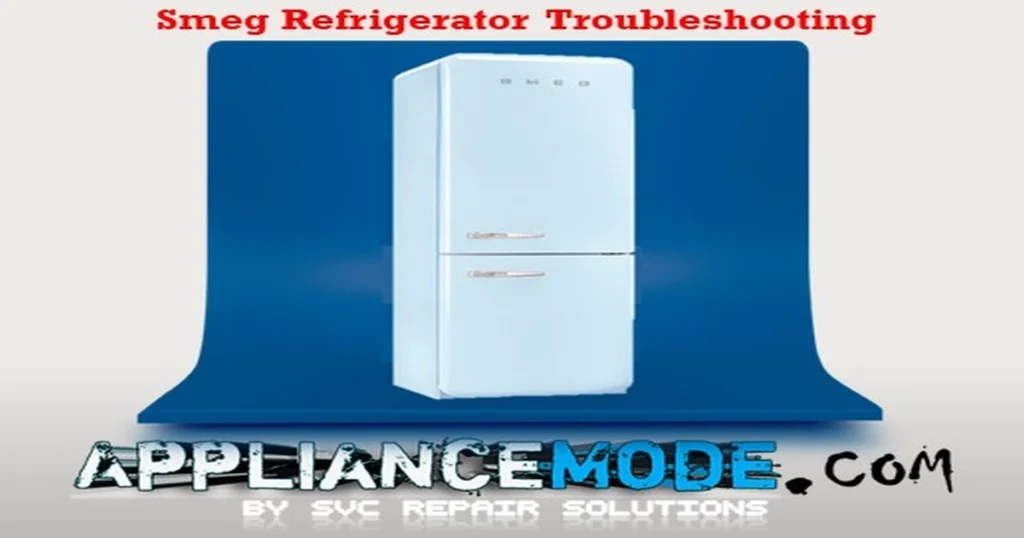
Get Your Smeg Refrigerator Back Up and Running: A Troubleshooting Checklist

SMEG Refrigerator TEST CYCLE
The test cycle can be activated within the first 10 seconds of the appliance turning on.
How to activate the test cycle:
Understanding error codes on your SMEG refigerator? This guide will help you troubleshoot common problems and get your fridge running smoothly again.
| Step | Action | Description |
|---|---|---|
| Activation | Press and hold the Fridge Super Cold or Freezer Fast Freeze button for 8 seconds. | Hold the button until you hear the third beep from the appliance. |
| Start Confirmation | The test cycle starts. | The appliance will initiate the test cycle. |
| LED Indication | Release the button. The LED for lower temperatures illuminates. | Let go of the button. The light for colder temperatures will turn on to indicate the test has begun. |
| Exiting the Test Cycle | The appliance disconnects. | The test cycle will automatically stop if the power is disconnected. |
| Exiting the Test Cycle | 5 minutes of inactivity on the control panel. | The test cycle will automatically stop if no buttons are pressed for 5 minutes. |
| Exiting the Test Cycle | End of defrost step (if applicable). | For models with a defrost cycle, the test will stop upon the completion of defrosting. |
Carrying out the Test Cycle:
| Step | LED Status | Action | Test Description | Expected Outcome |
|---|---|---|---|---|
| 1 | Alarm LED flashing | None | NTC sensor control test | The alarm LED should not flash (indicating proper sensor function). |
| 2 | LED 24 flashing | Press Super Button | Fan test | The fan should operate audibly. |
| 3 | LED 22 flashing | Press Super Button | Damper motor test | Damper should open and close. The alarm light illuminates when the damper is open. |
| 4 | LEDs 22 & 24 flashing | Press Super Button | Defrost resistance test | The defrost heating element should be activated. |
| 5 | LED 20 flashing | Press Super Button | Damper resistance test | Damper resistance should be activated. |
| 6 | LEDs 20 & 24 flashing | Press Super Button | Compressor test | The compressor should activate (it may take a slight delay). |
| 7 | LEDs 20 & 22 flashing | Press Super Button | Defrost cycle test | The defrost cycle should initiate (it may take time to observe). |
SMEG Refrigerator Troubleshooting
The appliance does not work
Causes:
- Power supply problem.
- The appliance is disconnected.
- The supply voltage is 160 volts.
- The main switch does not work; replace the main switch.
- Check the wiring.
- Check the compressor.
- Check the temperature sensors.
Solutions:
- Check if the power supply voltage is okay and replace the electronic card.
- Replace the main switch.
- Replace the faulty cable or wiring.
- Replace the sensors if necessary.
The fridge compartment does not cool enough
- There is no circulation of air in the fridge and freezer compartments when the compressor is running.
- Noisy fan.
- The presence of plenty of moisture in the air outlet vents of the fridge compartment
- Inadequate cooling capacity, even though there is air circulation.
Causes:
- The fan.
- The fan power supply.
- The fan is mechanically locked.
- There is no contact or improper connection.
- Check the wiring.
- The light switch malfunctions.
- The Damper.
- The damper thermostat malfunctions.
- The damper is mechanically locked.
- The evaporator area
- Damper microswitches have problems.
- Faulty NTC.
- The fan blades touch the fan cover.
- The vents could be blocked by food.
- Damper thermostat settings might be inappropriate.
- The duct seal is damaged.
Solutions:
- Replace the fan if necessary.
- Unlock the fan.
- Repair the contacts.
- Replace the switch.
- Replace the damper motor or microswitch.
- Unlock the damper.
- Check that there are no ice formations in the evaporator area.
- Replace the sensor.
- Fix the fan if necessary.
- Advise the customer not to place food against it.
- Select a cooler setting and advise the client to consult the instruction booklet.
- Replace the seal if necessary.
Fridge and freezer compartments do not cool enough
Inadequate cooling capacity even though the compressor, fan, and Damper thermostat are perfect.
Causes:
- The compressor inputs current.
- Leaks in the refrigeration circuit.
Solutions:
- Check the COMPRESSOR
- Check the relay and/or overload protection.
- Replace the compressor if necessary.
- Stop the leaks and repair the refrigeration circuit.
The fridge compartment cools too much
- too-cold temperatures.
- Food freezes in the fridge compartment.
Causes:
- Too-low temperatures have been selected.
- Faulty damper.
- Faulty temperature sensor.
- Check that food was not positioned directly in front of the air outlet vents in the fridge compartment.
- The damper is locked and remains in an open position.
Solutions:
- Adjust the temperature.
- Replace the damper.
- Replace the temperature sensor.
- Remove the damper locking elements.
Condensation is forming inside the fridge compartment.
- Condensation is forming inside the fridge compartment.
- Condensation forms on some food and on the fridge’s internal walls.
Causes:
- The cooling capacity in the fridge compartment
- The compressor inputs current.
- Leaks in the refrigeration circuit.
- The door seals.
- The fridge compartment was overloaded.
- Air outlet vents inside the fridge compartment are blocked by food.
Solutions:
- Check the relay and overload protection.
- Check the compressor.
- Replace the compressor if necessary.
- Stop the leaks and repair the refrigeration circuit.
- Replace the faulty door seal.
- Advise the customer not to place food or anything else directly against the aeration vents inside the fridge.
Frost and ice are forming in the freezer compartment
- Frost and ice form in the freezer and fridge compartments.
- Layer of ice on frozen food.
- Temporary formation of ice on frozen food.
- Formation of ice in the evaporator.
Causes:
- Faulty fridge and freezer door seals
- Faulty evaporator sensor
- The evaporator is incorrectly positioned.
- Drain tubes blocked by polyurethane foam (during the foaming process)
- The heater has no contact with the evaporator.
- Continuous work because of the faulty relay board.
- Two polystyrene spacers in the evaporator are positioned improperly or are missing.
- The evaporator sensor is incorrectly positioned.
- Faulty defrost heater
- Faulty electronic board.
Solutions:
- Replace the door seal if necessary.
- Replace the evaporator sensor if necessary.
- Inform the customer that the formation of frost on food is caused by the high humidity of the air present in the appliance.
- Position the evaporator correctly, making sure it touches the plastic tray.
- Try to free the tube from the foreign body.
- Position the resistance correctly.
- Correctly position the two polystyrene spacers in the evaporator.
- Place the sensor correctly.
- Check the connections of the defrost heater and replace them if necessary.
- Replace the main PCB.
Excessive noise
- Popping sounds.
- Excessive noise
Causes:
- The fan motor is noisy.
- The fan blades touch the fan cover.
- Fan vibration.
- The fan blades go against the wiring.
- Normal noise level during the defrost phase.
Solutions:
- Replace the fan.
- Tighten the fixed screws or replace the seal.
- Position the different parts properly.
Water leakage caused by a broken drainage pipe
- Water leaked from the rear of the appliance. Possibility of ice on the evaporator.
Cause:
- Damaged drainage pipe or with the presence of cracks.
Solution:
- Remove the old tube and fix the new one. Make sure that the rubber end of the inner tube is fixed properly and that it is not damaged. If not, use silicone to prevent water leaks.
- Use the original drainage pipe.

I am a master Appliance Repair technician with over 35 years of experience in the field. I am passionate about helping people troubleshoot their appliances and fix common problems. My website, appliancemode.com, provides a wealth of information on troubleshooting common appliance issues and deciphering error codes. This website aims to empower people to tackle appliance repairs themselves and save money on service calls.


