Decode Your Dryer’s Distress Signals: A Guide to Candy Dryer Error Codes
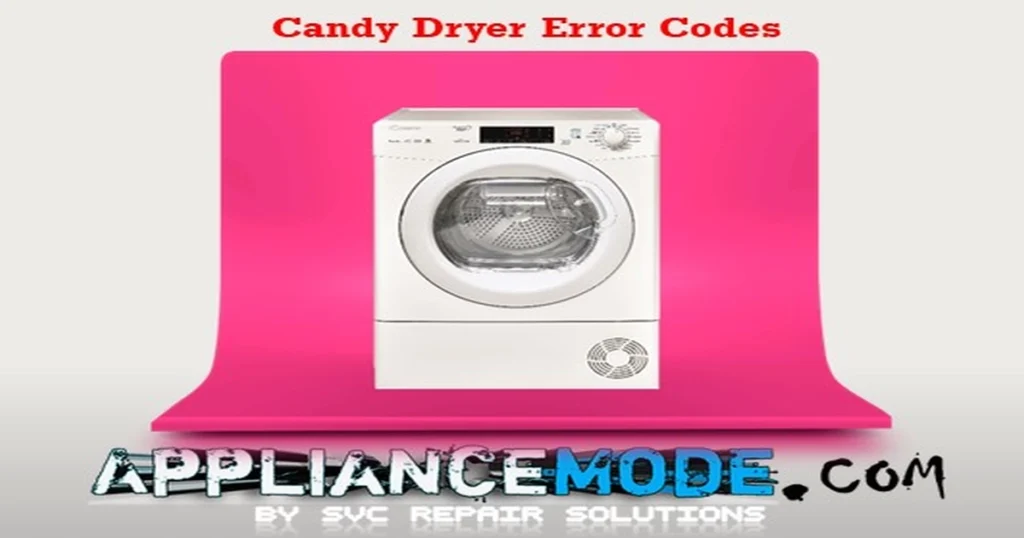
Is your Candy dryer acting up and displaying a mysterious error code? Don’t panic! These codes are actually helpful clues that can point you towards the source of the problem. In this blog post, we’ll introduce you to common Candy dryer error codes and provide easy-to-follow steps for troubleshooting and potentially fixing the issue yourself.

Important Safety Note: Always unplug your dryer from the power outlet before attempting any inspection or repair. Exercise caution and if you’re uncomfortable performing any of the steps, it’s always best to contact a qualified appliance technician.
Candy Dryer Error Codes Explained
Here’s a breakdown of common Candy dryer error codes and what they mean:
E3: Water Tank Error
- Meaning: The water condensate tank is full.
- Solutions:
- Empty the water collection tank.
- Check if there is any lint or debris obstructing the sensor area around the water tank switch.
- Inspect the water tank switch itself – it may have failed and need replacement.
E04: Program Selector Error
- Meaning: The program selector knob or its circuit has a short or open circuit.
- Solutions:
- Ensure the connector to the selector is properly and securely inserted.
- Inspect the program selector itself for visible damage.
- Check the main control PCB (Printed Circuit Board). If the selector and its connection appear fine, the PCB may need to be replaced.
E05: Front Sensor Error
- Meaning: The front temperature sensor (NTC) circuit is cut or short-circuited. This sensor helps regulate drying temperature.
- Solutions:
- Check if the connector to the front sensor is properly inserted.
- Test the front sensor’s resistance using a multimeter. At approximately 25°C, the resistance should be around 19.8 KΩ.
- Inspect the main control PCB. If the sensor and connection are good, the issue might be with the PCB.
E06: EEPROM Error
- Meaning: There is an error with the dryer’s EEPROM (Electrically Erasable Programmable Read-Only Memory), which stores program data.
- Solutions:
- This typically indicates a problem with the main control PCB. Replacing the main PCB is usually required.
E07: Clogged Filter Error
- Meaning: The lint filter is clogged with fluff, restricting airflow and preventing proper ventilation.
- Solutions:
- Thoroughly clean the lint filter.
- If the filter is damaged, replace it.
E08: Heater Fuse Protection Error
- Meaning: An issue related to the heating element’s thermal protection has been detected.
- Solutions:
- Check all wire harness connections related to the heating circuit.
- Test the resistance of the front thermostat using a multimeter. At approximately 85°C, it should have a resistance between 0.1 and 2.1 Ω.
- Test the resistance of the thermal fuse (often located near the heater) with an ohmmeter. At approximately 160°C, it should have a resistance between 0.1 and 2.1 Ω.
- If your dryer has another thermal fuse (e.g., rated at 206°C), test its resistance similarly (0.1 – 2.1 Ω).
- Check the resistance of the heating element itself. For a 220V, 1900W heater, the resistance should be around 26 Ω (R=V²/P).
- Ensure the ventilation circuit (ducts, condenser area) is clean and not blocked.
E9: High-Limit Thermostat Error
- Meaning: The high-limit thermostat has tripped, indicating the dryer has overheated.
- Solutions:
- Allow the appliance to cool down completely. Some high-limit thermostats auto-reset.
- Test the resistance of the high-limit thermostat with a multimeter. At approximately 120°C, it should have a resistance between 0.1 and 2.1 Ω.
- If the thermostat is a manual reset type, locate and press the reset button. Replace the thermostat if it doesn’t reset or test correctly.
- Investigate the cause of overheating, which could be related to clogged filters or ventilation issues (see E07, E08, and E11).
E10: Communication Failure (PCB and User Interface)
- Meaning: There is a problem with communication between the main control board (PCB) and the user interface module (where the buttons and display are).
- Solutions:
- Ensure the connector cable between the PCB and the user interface module is securely plugged in at both ends.
- Check the user interface module for visible damage. It may need to be replaced.
- Check the main control PCB. If the connection and user interface seem fine, the issue might be with the PCB.
E11: Rear Temperature Too High
- Meaning: The temperature at the rear of the dryer is excessively high, indicating poor airflow or a heating issue.
- Solutions:
- Thoroughly clean all ventilation ducts and the lint filter, and ensure the entire air system is clear of obstructions.
- Clean the condenser unit (if applicable to your dryer model).
- Check if the drum motor is running correctly.
- Inspect the fan for any blockages that would prevent proper air circulation.
E12: Pressure Switch Error
- Meaning: There is an issue with the pressure switch, which is part of the condensate drainage system in some models.
- Solutions:
- Check the wire harness connector to the pressure switch.
- Inspect the pressure or level switch itself.
- Ensure that the air trap (part of the drainage system) is clean and not blocked.
E13: Compressor Sensor Error
- Meaning: The sensor for the compressor (found in heat pump dryer models) is faulty.
- Solutions:
- Check the wire harness connector to the compressor NTC sensor.
- Test the resistance of the compressor NTC sensor. At approximately 25°C (72°F), the resistance should be around 20 KΩ.
- Inspect the main control PCB. If the sensor and connection are okay, the PCB may need replacement.
E14: Rear Sensor Error
- Meaning: The rear temperature sensor (NTC) circuit is cut or open-circuited. This sensor also helps monitor drying temperature.
- Solutions:
- Check the wire harness connector to the rear sensor.
- Test the resistance of the rear sensor. At approximately 25°C, the resistance should be around 19.8 KΩ.
- Inspect the main control PCB. If the sensor and connection are good, the issue might be with the PCB.
E15: EEPROM Empty Error
- Meaning: The dryer’s EEPROM (memory) is empty or corrupted, indicating a major problem with the main control board.
- Solutions:
- This error almost always requires replacing the main control PCB.
E19: NFC Module Error
- Meaning: There is a temporary issue with the Near Field Communication (NFC) module, often used for smart features or diagnostics.
- Solutions:
- Turn the appliance off at the power outlet, wait a minute, and then turn it back on. This often resolves temporary communication glitches with the NFC module.
E21: Heater Relay Error
- Meaning: There is a malfunction with the heater relay on the main control PCB.
- Solutions:
- Check the wire harness connections related to the heating circuit.
- Ensure the high-limit thermostat has not tripped (see E9).
- Check the thermal fuse (see E08).
- Crucially, ensure the ventilation ducts and air cycle are completely clean and not clogged. Poor airflow can cause the heater relay to malfunction or the system to overheat.
- Inspect the main control PCB. If other components seem fine, the PCB may need replacement.
E22: Compressor Relay Error
- Meaning: There is a malfunction with the compressor relay on the main control PCB (applicable to heat pump dryers).
- Solutions:
- Check the wire harness connector to the compressor.
- Inspect the compressor itself for any obvious issues.
- Check the main control PCB. If the compressor and connection are okay, the PCB may need replacement.
LOC: Key Lock Notification
- Meaning: The child lock feature is activated, preventing the buttons from being used.
- Solutions:
- To Deactivate: Press and hold the “Time selection” and “Drying selection” buttons simultaneously for approximately 2 seconds. The display should show “Unl” (Unlocked).
- To Activate: Press and hold the “Time selection” and “Drying selection” buttons simultaneously for approximately 2 seconds. The display should show “LOC” (Locked).
- Note: The exact button combination for the child lock can vary slightly between Candy dryer models. Always refer to your specific dryer’s user manual for the precise instructions.
Conclusion
Candy dryer error codes are more than just annoying symbols; they are a valuable diagnostic tool. By understanding what these common codes mean and following the troubleshooting steps outlined above, you can often identify and resolve issues with your appliance yourself. Remember to prioritize safety by unplugging the dryer before working on it.

I am a master Appliance Repair technician with over 35 years of experience in the field. I am passionate about helping people troubleshoot their appliances and fix common problems. My website, appliancemode.com, provides a wealth of information on troubleshooting common appliance issues and deciphering error codes. This website aims to empower people to tackle appliance repairs themselves and save money on service calls.


