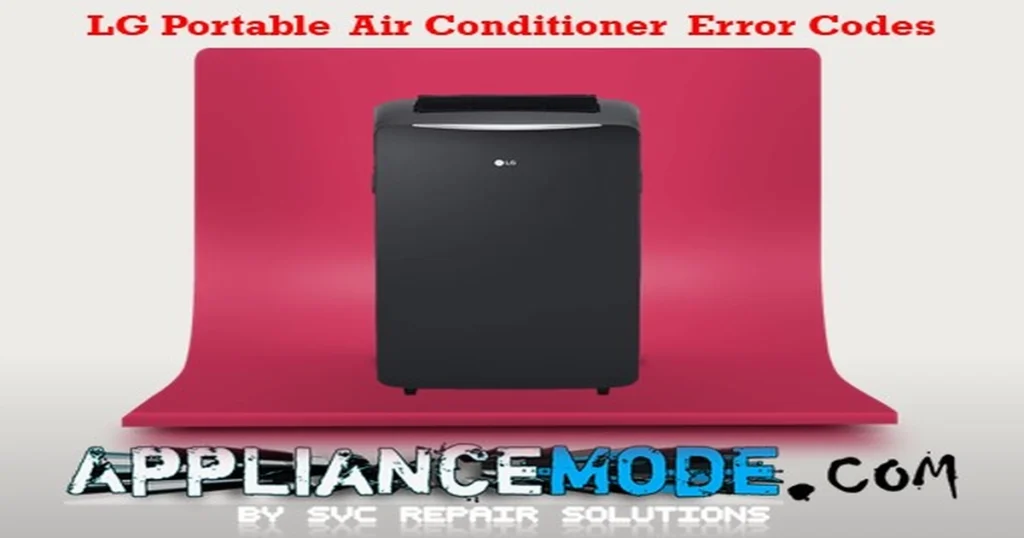
Repair Your LG Portable Air Conditioner: A Comprehensive Guide to Error Codes and Quick Fixes
This comprehensive guide is designed to help you understand the common error codes displayed on all models of LG portable air conditioners, including smart Wi-Fi, cooling and heating, and dual-inverter units. We’ll decode what each error means and provide straightforward solutions to get your unit running smoothly again.

Before you begin any troubleshooting or repair, always ensure the unit is unplugged for your safety. Exercise caution and if you’re ever unsure, it’s best to consult a qualified technician.
Understanding LG Portable Air Conditioner Error Codes
Here’s a breakdown of common LG portable air conditioner error codes and how to address them:
CH01 (or E2): Room Temperature Sensor Error
This error indicates an issue with the indoor room temperature sensor circuit, suggesting it’s either open or shorted.
- Possible Causes:
- Damaged sensor wire harness
- Abnormal resistance in the room temperature thermistor
- Malfunctioning main control board
- Troubleshooting & Solutions:
- Inspect the wire harness connection between the sensor and the main board. Ensure it’s secure and undamaged.
- Test the room temperature thermistor’s resistance using a multimeter. Compare the reading to the expected value (approximately 9.8 KΩ at 25°C / 77°F, with a voltage around 2.248 Vdc). If the resistance is significantly off, the thermistor may need replacement.
- If the wiring and sensor check out, the main control board could be the culprit and may need to be replaced.
CH02 (or E1): Evaporator Pipe Temperature Sensor Error
This code signals a problem with the evaporator pipe temperature sensor circuit, indicating an open or short circuit.
- Possible Causes:
- Damaged sensor wire harness
- Abnormal resistance in the evaporator pipe thermistor
- Malfunctioning main control board
- Troubleshooting & Solutions:
- Check the wire harness connection between the sensor and the main board for any damage or looseness.
- Measure the resistance of the evaporator pipe thermistor with a multimeter. At 25°C (77°F), the expected resistance is around 4.85 KΩ with a voltage of approximately 2.236 Vdc. Replace the thermistor if the reading is outside the normal range.
- If the sensor and wiring are fine, the issue might lie with the main control board, requiring potential replacement.
CH10: Upper Fan Motor Error / CH67: Bottom Fan Motor Error
These codes relate to issues with the fan motors. CH10 specifically points to the upper BLDC (Brushless DC) fan motor, while CH67 indicates a problem with the bottom BLDC fan motor, often related to a lack of feedback signal.
- Possible Causes:
- Locked or obstructed fan motor
- Faulty BLDC fan motor
- Malfunctioning main control board
- Troubleshooting & Solutions:
- Manually attempt to turn the fan blades to see if they rotate freely. Remove any obstructions.
- Perform electrical tests on the BLDC motor using a multimeter. Check the resistance and voltage at the specified test points (Vm and GND for main input voltage, Vcc and GND for controller drive voltage, Vsp and GND for PWM voltage, and FG and GND for feedback voltage). Refer to the provided approximate values (e.g., Main Input: ∞ Ω, ~176–310 Vdc; Feedback: ∞ Ω, ~2.6 Vdc). For 3-wire or 5-wire BLDC motors, check the resistance between terminals (e.g., ~10.8–40.8 Ω between U, V, and W for a 5-wire motor).
- If the motor is receiving power but not turning, or if the electrical readings are off, the motor is likely faulty and needs replacement.
- If the motor appears functional but the error persists, the main control board might be defective.
CH22: Input Current Over Error
This error code signifies that the detected input current exceeds the acceptable limit.
- Possible Causes:
- Clogged airflow filter
- Faulty upper and/or bottom fan blade
- Low input voltage
- Excessive refrigerant charge
- Restricted capillary tube
- Malfunctioning main control board
- Faulty compressor
- Unit operating in an unsuitable climate class
- Troubleshooting & Solutions:
- Verify that the unit is installed in an environment that matches its specified climate class.
- Ensure there are no obstructions blocking the fan airflow. Clean the airflow filter thoroughly.
- Clean the condenser and evaporator coils to ensure proper heat exchange.
- Use a multimeter to check the input voltage to the unit. Ensure it falls within the specified range.
- Inspect the compressor wire harness connector and measure the compressor coil resistance with a multimeter (expected value around 5 – 11.4 Ω between U, V, and W).
- If the simpler checks don’t resolve the issue, the main control board may need to be inspected or replaced.
- Problems with the sealed refrigerant system, such as overcharging or a restricted capillary tube, can cause this error but require professional attention due to the need for refrigerant handling and potential heavy repairs.
- A faulty compressor can also lead to excessive current draw and should be checked by a technician.
CH26: Inverter Compressor Error
This error indicates that the inverter compressor is failing to start.
- Possible Causes:
- Damaged wire harness connection to the compressor
- Faulty compressor
- Malfunctioning main control board
- Troubleshooting & Solutions:
- Examine the wire harness connecting to the compressor for any signs of damage or a loose connection.
- Measure the resistance of the compressor coils using a multimeter (expected value around 5 – 11.4 Ω between U, V, and W). If the resistance is incorrect, the compressor is likely faulty.
- If the wiring and compressor resistance are within the normal range, the main control board could be the issue.
CH32: Compressor Over-Discharge Temperature Error
This code appears when the temperature of the compressor discharge pipe exceeds its safe limit.
- Possible Causes:
- Dirty airflow filter
- Faulty fan blade
- Low refrigerant charge
- Faulty discharge thermistor
- Troubleshooting & Solutions:
- Ensure there are no obstacles impeding airflow to or from the unit. Clean the air filter.
- Clean the condenser and evaporator coils.
- Test the resistance of the compressor discharge sensor using a multimeter. At 25°C (77°F), the expected resistance is around 198 KΩ with a voltage of approximately 4.568 Vdc. Replace the thermistor if the reading is significantly off.
- Low refrigerant charge can cause the compressor to overheat. Checking and potentially recharging the refrigerant pressure requires a qualified technician.
CH38: Refrigerant Low-Pressure Error / CH61: Condenser Pipe High/Low Temperature Error
These errors are related to issues with the refrigerant pressure or the temperature in the condenser pipes, often indicating problems with the sealed refrigerant system. CH38 specifically points to low refrigerant pressure, while CH61 can indicate either high or low temperature in the condenser pipe, both of which can be caused by pressure irregularities.
- Possible Causes:
- Refrigerant leak leading to low pressure (CH38, CH61)
- Restriction in the refrigerant flow (CH61)
- Faulty low-pressure or high-pressure thermistor/sensor
- Troubleshooting & Solutions:
- Check the wire harness connections for the low-pressure and/or high-pressure thermistors or sensors.
- Measure the resistance of the low-pressure and/or high-pressure sensors. At 25°C (77°F), the expected resistance is around 4.85 KΩ with a voltage of approximately 4.236 Vdc for both Pipe-HP and Pipe-LP sensors.
- Identifying and repairing refrigerant leaks requires specialized tools and knowledge and should only be performed by a certified technician. Once the leak is repaired, the unit will need to be recharged with the appropriate type and amount of refrigerant.
CH41: Discharge Pipe Sensor Error
This error indicates an open or short circuit in the discharge pipe temperature sensor.
- Possible Causes:
- Damaged sensor wire harness
- Abnormal resistance in the discharge pipe thermistor
- Malfunctioning main control board
- Troubleshooting & Solutions:
- Check the wire harness connection between the sensor and the main board.
- Measure the resistance of the discharge pipe thermistor with a multimeter. At 25°C (77°F), the expected resistance is around 198 KΩ with a voltage of approximately 4.568 Vdc. Replace the thermistor if the reading is outside the normal range.
- If the wiring and sensor are functioning correctly, the main control board may be faulty.
CH45: Condenser Temperature Sensor Error
This code signifies an open or short circuit in the condenser pipe temperature sensor.
- Possible Causes:
- Damaged sensor wire harness
- Abnormal resistance in the condenser pipe thermistor
- Malfunctioning main control board
- Troubleshooting & Solutions:
- Inspect the wire harness connection between the sensor and the main board for damage or looseness.
- Test the resistance of the condenser pipe thermistor with a multimeter. At 25°C (77°F), the expected resistance is around 4.85 KΩ with a voltage of approximately 4.236 Vdc. Replace the thermistor if the reading is incorrect.
- If the sensor and wiring check out, the issue might be with the main control board.
CH62: Inverter Board Heat-Sink High Temperature Error
This error occurs when the temperature of the inverter board’s heat sink exceeds 100°C.
- Possible Causes:
- Dirty airflow filter
- Faulty fan blade affecting airflow over the heat sink
- Overload operation of the unit
- Restricted capillary tube
- Malfunctioning inverter board
- Troubleshooting & Solutions:
- Ensure there are no obstructions blocking the airflow around the unit, particularly near the inverter board’s heat sink.
- Clean the airflow filter thoroughly.
- Clean the condenser and evaporator coils to improve overall system efficiency and reduce the load on the inverter board.
- If the above steps don’t resolve the issue, the inverter board may be malfunctioning and require replacement. Problems with the refrigerant system, like a restricted capillary tube, can also cause this, but require professional diagnosis and repair.
Notifications and Other Indicators
Some displays on your LG portable air conditioner may not be error codes but rather notifications about the unit’s status or activated functions.
CL: Child Lock Notification
This indicates that the control panel is locked, preventing accidental operation. To unlock it, refer to your specific LG portable air conditioner’s user manual, as the method can vary between models. This feature is useful during cleaning or to prevent unsupervised use.
Co: Condensation Removal Notification
This notification signifies that the automatic condensation removal function is active. This function helps to evaporate accumulated water. It can typically be deactivated by turning the unit on and then pressing and holding the “Auto Swing” button for 3 seconds after about 15 seconds. “OF” should appear on the display. Note that this function may be active in “cool” and “dry” modes, and the fan may continue to run briefly after the unit is turned off to help dry the internal components.
CP (or Po): Cooling Power Mode Notification
This indicates that the cooling jet mode or a similar high-power cooling function is activated. On many models, this mode can only be engaged via the remote control or the LG ThinQ app.
FL (or P2): Water-Full Error
This is a common error indicating that the internal water collection tank is full, triggering the float sensor.
- Possible Causes:
- Full water tank
- Faulty water tank sensor
- Malfunctioning splash motor (responsible for evaporating condensation)
- Troubleshooting & Solutions:
- Drain the water from the base of the unit by removing the drain cap. Ensure all water is drained before securely closing the cap.
- Check the water tank sensor to ensure it’s properly positioned and not damaged.
- Inspect the splash motor and its connector. If the splash motor isn’t working, water will accumulate in the tank more quickly.
Conclusion
By understanding these common error codes and following the suggested troubleshooting steps, you can effectively address many issues that may arise with your LG portable air conditioner. Remember to prioritize safety by unplugging the unit before attempting any repairs. For complex issues involving the sealed refrigerant system or if you’re uncomfortable performing electrical tests, it’s always recommended to contact a qualified HVAC technician.

I am a master Appliance Repair technician with over 35 years of experience in the field. I am passionate about helping people troubleshoot their appliances and fix common problems. My website, appliancemode.com, provides a wealth of information on troubleshooting common appliance issues and deciphering error codes. This website aims to empower people to tackle appliance repairs themselves and save money on service calls.


