
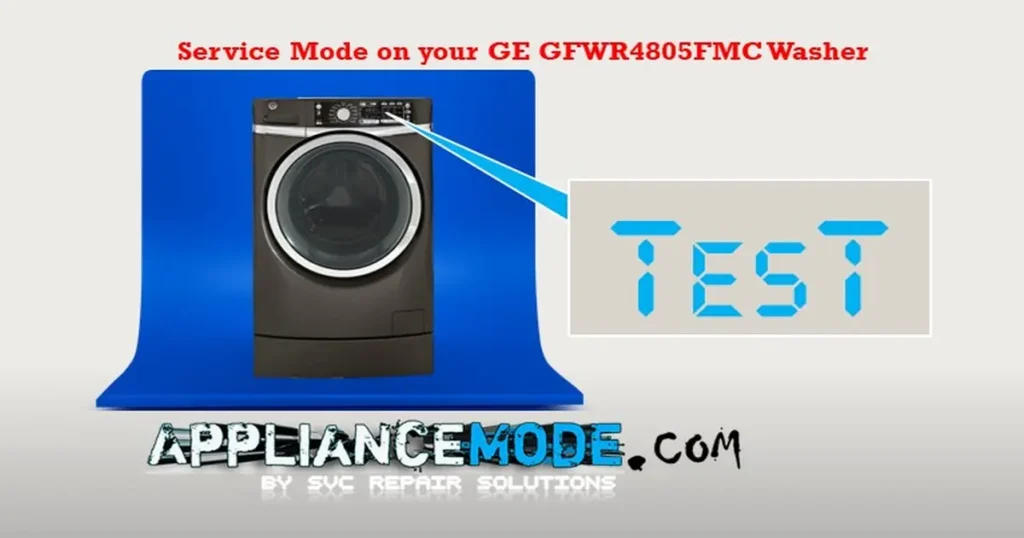
This guide explains how to enter service mode on your GE GFWR4805FMC washer to run diagnostic tests and identify potential issues.
Before you begin:
- Ensure the washer is empty and the door is closed.
Accessing Service Mode on Your GE GFWR4805FMC Washer and Similar Models
- Power Down: Turn off the washer using the power button.
- Button Sequence: With the washer off, press the following buttons in order: Rinse -> Delay Wash -> Rinse -> Delay Wash. If you make a mistake, simply start over from step 1.
- Service Mode Activated: If successful, the washer will display “Test 01” on the screen, indicating service mode has been entered.
Service Mode Tests:
The service mode offers various tests to diagnose washer functions. Refer to the table below for details:
| Test Number | Description |
|---|---|
| 01 | LED and Door Check |
| 02 | Model Number Display. |
| 03 | User Interface Software Version. |
| 04 | Hot Water Valve Check |
| 05 | XML Version Check. |
| 06 | Cold Water Valve Check |
| 07 | Main Control Board Software Version. |
| 08 | Dispenser Test |
| 09 | Inverter Software Version. |
| 10 | Tumble Test (agitation) |
| 11 | Spin Test |
| 12 | Drain Pump Check |
| 13 | Heater Check |
| 14 | Door Lock Test |
| 15 | Out-of-Balance Test |
| 16 | Pressure Sensor Test |
| 17 | Flow Meter Test |
| 18 | User Interface: Critical Software Version. |
| 19 | Main Control Board Critical Software Version. |
| 20 | Inverter Critical Software Version |
| 21 | View Error Codes |
| 22 | Clear Error Codes (Use with caution) |
| 23 | Clear EEPROM (For qualified technicians only.) |
| 24 | Slow Ramp Test (gradual spin increase) |
| 25 | Low-Flow Water Valve Check |
| 26 | Recirculation Pump Test. |
| 27 | Overnight-Ready Test. |
Important Note: Avoid using Test 23 (Clear EEPROM) unless you are a qualified appliance technician with the proper tools. This function erases essential washer settings and data, potentially rendering it unusable.
Navigating Service Mode Tests:
- Turn the knob counter-clockwise to select a lower test number.
- Turn the knob clockwise to select a higher test number.
- Press Start/Pause to begin the selected test.
Exiting a Test:
- To exit a test, simply turn the knob to select a different test number.
- The washer will drain any remaining water before exiting the test.
Exiting Service Mode:
- Press the Power button to return to the idle state.
- The washer will automatically exit service mode after 30 minutes of inactivity.
- You can also unplug the washer (if you didn’t unplug it earlier) to exit.
Upon exiting service mode:
- The door will unlock.
- Any water will be drained.
- The washer will turn off.
Compatible Washer Models:
This service mode applies to several GE front-load washer models. Here’s a table for easy reference:
| Model Number | Description |
|---|---|
| GFWS2500 | Front-Load Washing Machine |
| GFWS2600 | Front-Load Washing Machine |
| GFWS2600F0WW | Front-Load Washing Machine (White) |
| GFWS2600FWW | Front-Load Washing Machine |
| GHWS3600 | Front-Load Washing Machine |
| GHWS3600F0WW | Front-Load Washing Machine (White) |
| GFWS3700 | Front-Load Washing Machine |
| GFWR4800 | Front-Load Washing Machine |
| GFWR4800F2WW | Front-Load Washing Machine (White) |
| GFWR4800F0WW | Front-Load Washing Machine (White) |
| GFWS2505 | Front-Load Washing Machine |
| GFWS2605 | Front-Load Washing Machine |
| GFWS2605FMC | Front-Load Washing Machine |
| GHWS3605 | Front-Load Washing Machine |
| GHWS3605FRR | Front-Load Washing Machine |
| GHWS3605F0RR | Front-Load Washing Machine (White) |
| GFWR4805 | Front-Load Washing Machine |
| GFWR4805FMC | Front-Load Washing Machine |
| GFWR4805F0MC | Front-Load Washing Machine |
Conclusion:
Service mode can be a helpful tool for troubleshooting problems with your GE washer. By running diagnostic tests, you can gain valuable insights into potential issues. However, remember to use caution and avoid functions that may alter critical settings (like Test 02, 03, 05, 07, 18, 19, 20, and 23) unless you’re a qualified technician.

I am a master Appliance Repair technician with over 35 years of experience in the field. I am passionate about helping people troubleshoot their appliances and fix common problems. My website, appliancemode.com, provides a wealth of information on troubleshooting common appliance issues and deciphering error codes. This website aims to empower people to tackle appliance repairs themselves and save money on service calls.

