
How to Diagnose Your Whirlpool Electric Oven: A Step-by-Step Guide
Is your Whirlpool electric oven acting up? Getting strange error codes or not heating properly? Before you call a technician, you can perform some basic diagnostics yourself! Your oven has a hidden “test mode” that can help you identify common issues, check component functionality, and retrieve error codes.
This guide will walk you through how to access and use your Whirlpool oven’s diagnostic mode, turning confusing symptoms into actionable information.
Why Use Diagnostic Mode?
Diagnostic mode allows you to:
- Test individual components like bake and broil elements.
- Read the oven temperature sensor to check for accuracy.
- Retrieve and understand error codes that your oven has stored.
- Verify the operation of switches and other parts.
Ready to become your own oven detective? Let’s get started!
What You’ll Need:
- Your Whirlpool electric freestanding oven.
- A pen and paper to jot down error codes or sensor readings.
- (Optional, but recommended for advanced testing) A multimeter to check voltage.
- (Optional) A screwdriver, if you need to access the oven sensor for further checks.
Step 1: Entering Diagnostic Test Mode (TST)
This is the most crucial step!
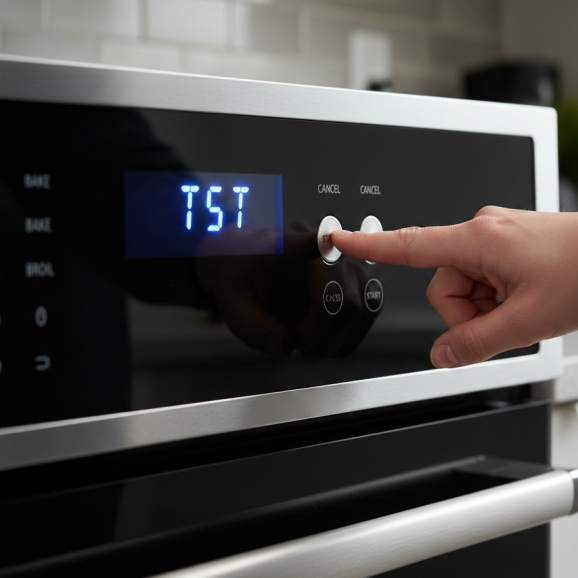
- Locate the control panel on your Whirlpool electric oven.
- Press the following buttons in quick succession: Cancel -> Cancel -> Start.
- The oven display should change from its normal time/temperature to “TST” (Test Mode). If it doesn’t, try the sequence again.
Step 2: Testing Oven Components
Once in TST mode, you can manually activate various parts of your oven.
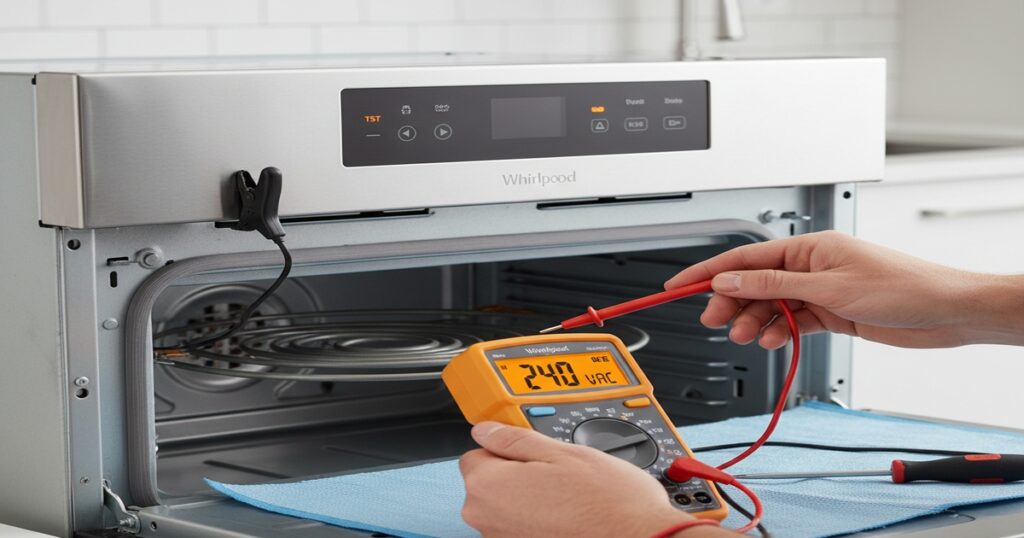
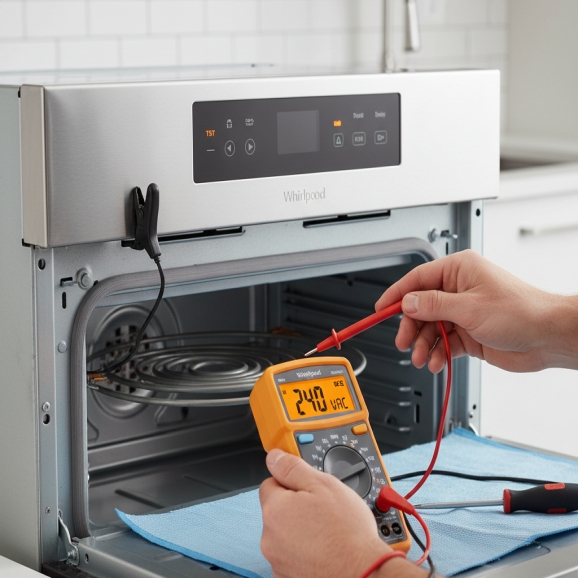
- Activate Heating Elements: Press buttons like Bake or Broil on the control panel. This will send power to those heating elements.
- Verify Operation:
- You might hear a click or a soft hum as the elements engage.
- (Advanced – use caution!) If you have a multimeter, you can carefully test for 240 volts going to the activated element. Always ensure the oven is unplugged before touching any internal wiring.
Step 3: Checking the Oven Temperature Sensor
A faulty temperature sensor can lead to overheating or underheating.
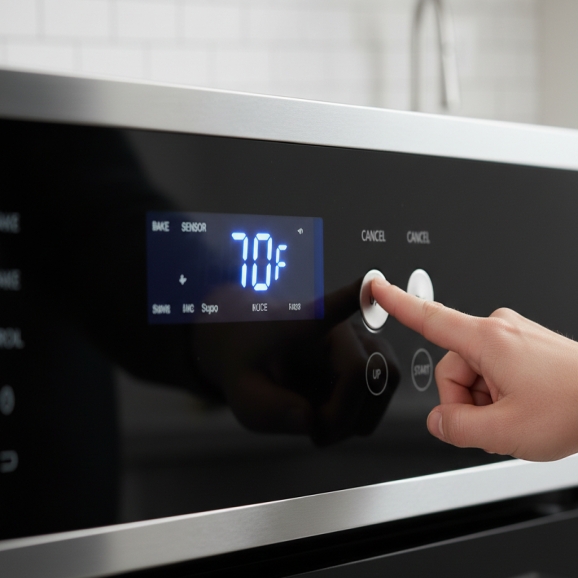
- Navigate to Sensor Check: Use the Up or Down arrow keys on the control panel to scroll through the diagnostic options until you see a temperature reading (e.g., 70F or 20C).
- Verify Room Temperature: This reading should be close to your actual room temperature. If it’s wildly inaccurate (e.g., showing 300F in a cool room), your oven’s temperature sensor might be faulty.
- Sensor Resistance (Advanced): A good oven sensor typically reads around 1,100 ohms at room temperature. If you suspect an issue, you can unplug the oven, remove the sensor (usually located at the back inside the oven cavity), and test its resistance with a multimeter.
Step 4: Checking the Door Latch/Switch
This is especially useful if you have issues with the self-clean cycle or error codes related to the door.
- Navigate to Latch Status: Continue scrolling with the Up or Down arrow keys until you find an option related to the “Latch” or “Door” state. It will likely show a number like 0 or 1.
- Test Operation: Open and close the oven door. The number on the display should toggle (e.g., from 0 to 1 and back again) as you operate the door. If it doesn’t change, the door switch or latch mechanism might be stuck or faulty.

Step 5: Reading and Clearing Error Codes
This section allows you to pull stored fault history that the control board has logged.
- Navigate to Error Codes: Continue scrolling through the diagnostic options using the Up or Down keys until you see a code, or the words “OK” or “Clear”.
- Retrieve and Note Codes: If a code is displayed (e.g., F1, F3, F6), write it down. The system is known to store up to two error codes, so scroll one more time to check for a second code.
📝 Common Whirlpool Oven Error Codes
| Code | Indication | Likely Component Failure |
| F1 | Main control board failure. | Control Board |
| F2 | Shorted keypad. | Control Panel/Keypad |
| F3 | Oven sensor open or shorted. | Oven Temperature Sensor |
| F5 | Door switches issue. | Door Lock Motor/Switch |
| F6 | Oven over temperature. | Control Board, Relay, or Sensor failure |
| F9 | Miswired house connection. | Electrical Wiring |
- Check Operation History: Following the error codes, you will also see the Accumulated Days of Operation before the error occurred and the total operational days of the oven. This helps technicians determine if the fault is frequent or a one-off event.
- Clear Codes (After Repair): Once you have identified the fault, performed the necessary repair (e.g., replaced the sensor for an F3), and are ready to test the oven, you must clear the codes. Press the Start key when the error codes are displayed. This resets the system’s fault history.
Step 6: Exiting Diagnostic Mode
Once all your checks and repairs are complete, it’s time to return the oven to normal operation.
- Exit: Simply press the Cancel button.
- Test: Your oven should now display the time or current temperature. Try running a simple bake cycle to ensure the fix worked and no new errors appear.
By using this diagnostic mode, you gain powerful insight into what is wrong with your Whirlpool oven, helping you save money on service calls or confidently order the correct replacement parts

I am a master Appliance Repair technician with over 35 years of experience in the field. I am passionate about helping people troubleshoot their appliances and fix common problems. My website, appliancemode.com, provides a wealth of information on troubleshooting common appliance issues and deciphering error codes. This website aims to empower people to tackle appliance repairs themselves and save money on service calls.
