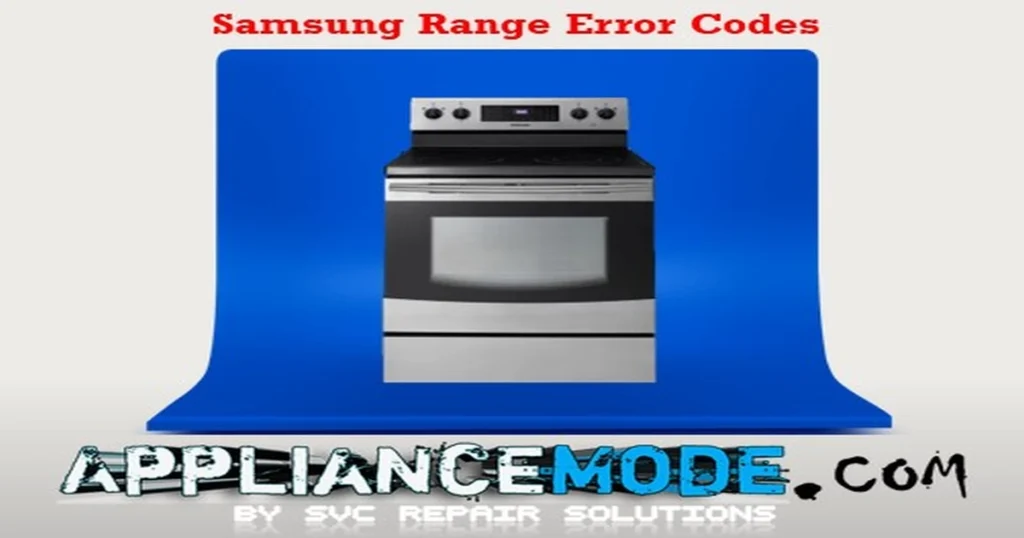
Samsung ranges are equipped with an error mode that helps homeowners diagnose and troubleshoot problems with their appliances. When an error code appears on the display panel, it indicates that there is a problem with the range that needs to be addressed.

In this guide, we will provide an overview of common Samsung Range error codes and offer troubleshooting steps for fixing the issues that can cause them to appear.
SAMSUNG Range Error Codes
Remember to always unplug the stove and exercise caution when attempting any repairs.
C-d0: Shorted Touch Display error.
Causes:
- This error code occurs when the touch control panel sensor detects the touch field for more than 8 seconds.
- Damp cloth has been placed on the control panel.
- Liquid boils over and lands on the control panel.
- More than one key has been pressed for more than 8 seconds.
- The touch PCB is defective.
Solutions:
- Check whether the cable for the keypad has been inserted into the connector on the display PCB.
- Check the keypad harness and connector.
- Check the connection between the key connector and the touch panel.
- If there is no problem with the connector on the main PCB or the cable of the keypad, replace the main PCB.
C-d1: Door lock error.
Causes:
- Door lock switch.
- Door lock motor.
- The main PCB did sense the door lock position.
Solutions:
- Disconnect power.
- Open the back cover.
- Check whether the harness has been connected to the door lock switch and motor. Resistance of Lock Motor Coil (1750 ~ 1850Ω at room temperature)
| Electric part name | Ohmic value |
|---|---|
| Lock Motor | 1.75 ~ 1.85 KΩ |
- Check the oven sensor. Resistance: 1080Ω at room temperature.
| Electric part name | Temperature | Ohmic value | Abnormal value: |
|---|---|---|---|
| Oven sensor | 25°C/77°F | 1.08 KΩ | 0.1 – 1 Ω / ∞ Ω / OL |
- Activate the door lock and measure the voltage at the wire connection on the door lock motor. (Normal Voltage: AC 120V)
- Check whether the door locking switch is working normally.
- Check if the harness is connected normally to the main PCB.
C-F0: Main PCB and Display PCB Communication Error
Causes:
- Loose communication between the Main and Display PBAs at the Control Panel
- Faulty control panel.
- Faulty main PCB
Solutions:
- Check the wire connection between the main PCB and the display PCB.
- If there is no problem with the connector on the main PCB and sub-PCB, replace the main PCB.
C-F2: Communication Error Main Touch Panel
Causes:
- Loose connection.
- a torn or damaged harness.
- The main PCB is defective.
- The display PCB is defective.
Solutions:
- confirm that the main PCB’s power connector is firmly seated and free of moisture damage.
- Ensure the connector clicks into place with no gaps or misalignment.
- Inspect the connector pins for signs of corrosion, condensation, or discoloration.
- If moisture is suspected, dry the connector thoroughly with compressed air before proceeding.
- Visually check the overlay cable to make sure that it is not burned or damaged.
C-20: Oven Sensor Error
Causes:
- This error code occurs when systems detect an open or shorted oven sensor. This error may be caused by defective sensors, misplaced wires, or defective PCBs.
- Oven Sensor.
- Main PCB.
Solutions:
- Disconnect power.
- Open the back cover.
- Check the sensor harness condition.
- Check whether the sensor wire is inserted into the connector correctly.
- Check the condition of the sensor harness and the connector on the main PCB. Measure the resistance of connector CNS300 on the main PCB (normal reading: 2850Ω).
- Disconnect the sensor harness.
- Check sensor resistance at room temperature:
- Oven sensor at room temperature: 1080Ω.
- Oven Sensor Open: over 2950Ω.
- Oven Sensor Shorted: under 930Ω.
| Electric part name | Temperature | Ohmic value | Abnormal value: |
|---|---|---|---|
| Oven sensor | 25°C/77°F | 1.08 KΩ | 0.1 – 1 Ω / ∞ Ω / OL |
C-21: Oven overheating error
Causes:
- This error code occurs when systems detect an open or shorted oven sensor.
- Shorted heater element.
- Misplaced wires.
- Faulty Oven Sensor
- Faulty Broil-Bake Heater Terminal
- Faulty main PCB
Solutions:
- Check oven sensor resistance at room temperature: 1080Ω.
- Measure the resistance values of the heater’s terminal after taking off the harness from the broil.
| Electric part name | Ohmic value |
|---|---|
| Heater element | 15 ~ 17Ω |
| Bake heater element | 22 ~ 25Ω |
- Turn on the Oven Bake Function, press the Start button, and check the voltage at the Oven Heater element at Normal 240 Vac.
- If not 240 volts, replace the main PCB.
C-23: Meat Probe shorted error.
Causes:
- Shorted meat probe.
- a torn or damaged harness.
- Main PCB.
Solutions:
- With the meat probe removed, measure the DC voltage at the probe terminal; it should read approximately 5 VDC.
- If the meter reads 0VDC, check the harness.
- Remove the connector and measure the DC voltage going to the meat probe pin, approximately 5 volts. Replace the main PCB if it is out of range.
C-30: Main PCB internal sensor error.
Causes:
- Sensor opened.
- Sensor shorted.
Solutions:
- Measure the main PCB sensor resistance, NTC400, at 3900 Ω at room temperature. If open-loading or shorted, replace the main PCB.
| Electric part name | Temperature | Ohmic value | Abnormal value: |
|---|---|---|---|
| Main PCB sensor | 25°C/77°F | 3.9 KΩ | 0.1 – 1 Ω / ∞ Ω / OL |
- Instruct consumers not to use large pots on back burners on high flames for too long.
Note: C-30 is caused by excessively high temperatures around the control panel.
C-31: Main PCB internal sensor error.
Causes:
- The temperature around the main PCB is too high.
Solutions:
- Locate the source causing the main PCB to overheat.
- If the main board is not being exposed to excessively high temperatures and the unit is displaying a C-31 code, replace the main PCB.
dC: Divider sensing error.
Causes:
- Divider.
- Divider sensor switch
Solutions:
- If single-cavity cooking mode >, remove the divider.
- If double-cavity cooking mode is selected, insert a divider.
- Check the divider sensor switch resistance.
- Divider inserted: 0.2Ω.
- Divider removed: ∞ Ω/OL
- Check if the connection between the switch and the connector is normal.
SAMSUNG Range Test Cycle
How to place the range into the test cycle:
| 1 | Touch the clock pad. |
| 2 | Touch the ‘Up’ and ‘Down’ buttons to set the time to 12 o’clock. |
| 3 | Touch the ‘Up’ and ‘Down’ buttons to set the minutes to 34. Touch the Start/Set pad. |
| 4 | Touch the ‘Clock’ and the ‘Up’ buttons at the same time for 3 seconds. Error codes are displayed. |
| 5 | Press the ‘Up’ and ‘Down’ buttons to display the latest 5 error codes. |
How to exit the mode:
- Press the Off/Clear pad to return to normal display mode.
Conclusion:
Samsung ranges are equipped with an error code system that helps homeowners diagnose and troubleshoot problems with their appliances. By familiarizing yourself with common error codes and following the troubleshooting steps outlined in this article, you should be able to resolve most errors on your own.
Find out more about Samsung product error codes. Learn more today.


